By using this website, you agree to our use of cookies (needed to provide our website’s features) and our Terms of Use.
By: Andrew Forrest - September 2025
Proper care and maintenance of your camping sleeping mat or pad will extend its lifespan and ensure it performs optimally. With regular cleaning and clever storage, your mat can last for many years, preventing problems such as mould growth or leaky valves.
In this guide, we'll explain how to clean your sleeping mat, how to dry and store it correctly, and share tips to prevent mildew and keep valves in good condition. Whether you're a beginner or a seasoned camper, these tips will help you protect your investment and sleep comfortably for years to come.
This page contains affiliate links. If you buy products or services via these links, we may earn a small commission at no cost to you. If you are thinking of buying, please use our links, as it helps support our website and YouTube channel.
Caring for your sleeping mat isn't just about cleanliness; it's about performance and reliability. Dirt, sweat, and moisture can degrade materials over time, causing the mat to wear out faster. A well-cared-for mat, which forms part of your sleep system, along with your liner and sleeping bag, will last longer and perform better, saving you money in the long run.
Proper care also means your mat is less likely to fail, literally deflating under you in the middle of a trip. Additionally, keeping your mat clean prevents oils, grime, and mildew from transferring to your sleeping bag, which in turn can reduce its insulating ability. In short, a few minutes of maintenance after each trip can protect your comfort, health, and gear investment for the long haul.

Benefits of good mat care include:
Before we dive into washing and storing, keep these general Walks4all care tips in mind to prevent damage in the first place:
If you can, always use some protection between your mat and the ground (a tent groundsheet, a thin foam pad, etc). This shields the mat from abrasion, dirt, and sharp objects, keeping it cleaner. Depending upon whether you can carry the additional weight, you can even use a removable sleeping mat cover or fitted sheet to keep the mat free of sweat and oils. This is more practical when car camping.

Clear away any rocks, sticks, thorns or debris before laying down your mat. Plants like thistles can puncture the material. Also, keep the mat away from cooking stoves and from campfire sparks that could melt it.

Don't pump your air mattress rock-hard. An over-inflated mat is not only less comfortable, but it also puts stress on seams and baffles, making punctures or seam failures more likely. Inflate it to a comfortable firmness but with a little give.
Remember temperature here - if you inflate in the morning in the cooler part of the day, the afternoon sun will be much warmer, and will cause the air inside the sleeping mat to expand. If you plan to leave it inside your tent all day, consider letting some air out before you go.
Treat valves carefully. Don't yank or twist valves harshly, and never force a partially closed valve open with pressure. A broken or leaky valve is hard to fix, so open/close it with steady, gentle motions. If your valve has removable O-rings, inspect them occasionally, as worn O-ring seals can cause leaks and should be replaced as needed.
High heat can ruin the adhesives and fabrics in your mat. Never leave an inflated mat in a hot, closed car or in direct sunlight in a tent. Prolonged exposure to UV radiation also degrades the material, rendering it brittle and susceptible to damage. Store and dry your mat out of direct sunlight when possible.

If you can, use a pump sack or inflator instead of blowing up the mat by mouth, especially in cold weather. Moist breath can condense inside, which in sub-zero conditions might turn to ice and damage the mat or its insulation. Moisture inside a sleeping mat can also lead to mould. Many modern mats come with pump sacks to reduce internal moisture. If you inflate the mat by mouth, be sure to air it out and dry it thoroughly later.

DEET insect repellent, aerosol sprays, campfire smoke, and even sunscreen can contain solvents or chemicals that degrade the fabric or its waterproof coating. Try not to get these on your mat. If you do, wipe it off as soon as possible with water or a mild soap. Never use strong solvents to clean a mat.
By following these preventive measures, you'll already be ahead of the game in keeping your sleeping pad in top shape. Next, we'll cover how to properly clean the mat when it does get dirty.
Regular cleaning will remove dirt, sweat, and oils that accumulate on your mat, helping to prevent mould. Aim to give your mat a thorough wash at least once a season, or more frequently if you use it often or it gets dirty.
Never put a sleeping mat in a washing machine or dryer, as this can destroy the materials and laminations. Instead, clean it gently by hand using the following steps:
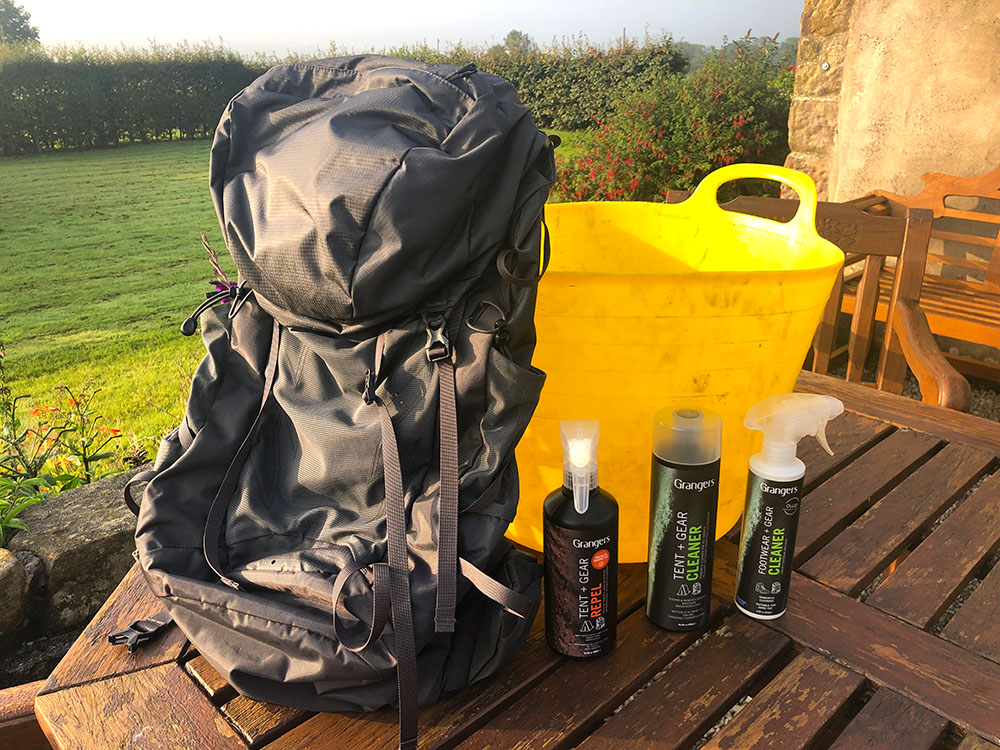
What you'll need: A bucket or tub of warm water, a mild soap (non-detergent dish soap or a gear-specific wash), a soft sponge or cloth, a towel, and a well-ventilated area for drying.
Always read and follow the manufacturer's care instructions before cleaning or drying.


The basic cleaning steps above work for all types of sleeping mats, but there are a few differences to note:
These are the simplest, since they're just solid foam; they don't have an internal air chamber or fabric laminations to worry about. You can scrub them more vigorously and even thoroughly rinse or hose them off.

Closed-cell foam mats
Avoid using hot water (warm water is fine) as it could warp the foam. Then, allow them to air dry. Foam pads dry quickly because they don't absorb water (the foam cells are closed). There's no valve to worry about, so cleaning is straightforward.
Be careful not to soak the foam interior. Always close the valve before washing to prevent water from seeping inside. The exterior fabric can be cleaned as above, but never submerge the mat completely, as the foam will suck in water like a sponge.

Self-inflating mat
If the interior does get wet, it can take a very long time to dry and may breed mould. After cleaning the outside, rinse and dry thoroughly. For drying, store the mat unrolled with the valve open, allowing any interior moisture to escape.
These pads often have synthetic insulation or reflective layers inside, but no foam. You should still keep water out of the inside, as the insulation can mildew or clump. Clean the outside gently by hand, remembering always to close the valve first.

Inflatable air mat
Heavier-duty airbeds used for car camping or as guest beds can usually be cleaned with the same mild soap method. Often, the PVC/vinyl material can handle a bit more scrubbing. Make sure to rinse off any soap residue to prevent vinyl cracking.

Airbed
Because these beds are usually made of airtight plastic, be especially careful to ensure they're completely dry, both inside and out, before folding them up, as any trapped moisture can cause mildew patches on the inner surfaces.
As long as the manufacturer's care instructions allow, you can use a 50/50 white vinegar-water solution to wipe away areas with mould or odours, then rinse and dry. Always store airbeds in a dry place and avoid storing them in damp basements, garages or sheds. Direct sunlight can also help eliminate mould and mildew growth on the inside of the mat without damaging the fabric, provided it isn't left in the sun for prolonged periods.
Storing your sleeping mat correctly when it's not in use is just as important as cleaning it. The goals of proper storage are to prevent mildew growth, preserve the loft of any foam, and avoid material damage.
Here are our Walks4all key principles for long-term storage:
Store it dry, dry, dry: Ok, so I've said this before, but it bears repeating - only store your mat bone-dry inside and out. Even a small amount of residual moisture can develop into mould spots after weeks or months. After trips, inflate the mat at home and let it air out for several hours with the valve open before you put it away.
Valve open vs closed: Always leave the valve open during storage. An open valve allows air exchange, which helps any faint moisture escape and prevents a pressure build-up if temperatures fluctuate. It also keeps the valve's rubber components from being constantly compressed.
Unrolled (flat) vs rolled: Store your mat uncompressed whenever possible. Lying it out flat, slightly inflated, valve open, under a bed, on a shelf, or even upright in a cupboard is ideal, especially for self-inflating foam mats. Keeping the foam uncompressed helps maintain its loft and extends its life.
It also prevents permanent creases or delamination of air cells. Just avoid sharp folds and move it occasionally so any fold lines aren't permanent.
When you must store rolled: Many of us don't have room to keep mats laid out flat. If you need to store it rolled or folded, do it loosely. Don't compress it as tightly as when it's in a pack. You can lightly roll the mat and put it in a large cotton storage sack, similar to those used for sleeping bags or even a pillowcase. This keeps dust and bugs off but doesn't squeeze the mat too much.
Avoid storing the mat in the tiny stuff sack that came with it. That is intended for short-term packing. Continuous tight rolling can permanently compress the foam and weaken the seams over time. The exception is pure air mats (no foam), where storing rolled is less damaging since there's no foam to crush. If you do store a mat in its snug sack, consider taking it out occasionally to let it breathe and ensure no moisture is hiding.
A cool, dry, dark place: Store the mat in a cool, dry area away from direct heat or sunlight. A closet or under-bed storage in a climate-controlled part of your home is perfect. Avoid garages, attics, or basements that are damp or experience significant temperature swings.

Extreme heat can degrade fabrics and melt adhesives in the mat, while high humidity invites mould. Likewise, frigid cold can make
materials stiff, though dry cold storage is generally okay.
Protect from pests: If you store your gear in a garage or shed, be mindful of rodents and insects. Mice love to chew on gear, whether for nesting or out of curiosity, and a rolled-up sleeping mat could be a target. Consider a plastic storage bin with a lid when storing in such environments.

The silica gel desiccant packs that come with many items these days are ideal for placing in a storage bin or storage bag, as they can
absorb any stray moisture. A bit of TLC in storage goes a long way to keep your mat hygienic, functional, and comfy.
The air valve of your sleeping mat is small but essential. Always follow the manufacturer's care instructions for the valve, but if you don't have them, here's how to help keep it working:
Rinse and clean the valve: After trips, especially to sandy or dusty areas, check the valve for any grit or sand. Grit can prevent a good seal. With the valve open, you can rinse it gently with clean water or wipe it with a damp cloth. Just be careful that no water gets inside the mat while cleaning the valve. Hold the mat valve down if rinsing, so gravity keeps water from seeping in. A cotton swab or soft toothbrush can help dislodge fine sand, but use gentle pressure.
Keep the valve open in storage: Again, as I mentioned earlier, it's worth repeating here: storing the mat with the valve open equalises pressure and allows the valve and interior to dry out thoroughly. This prevents any moisture from being trapped against the valve seal. It can also prevent the valve from sticking shut over time.

Operate gently: When twisting or pushing a valve to open/close, use moderate force and don't over-tighten. If a twist valve is
screwed too tightly, it could damage the gasket or make it very hard to open next time. If your mat uses a plug stopper, avoid pulling it out at
an awkward angle, as this can damage the base. Always support the valve base with one hand while removing or inserting a plug with the other hand.
Check O-rings (if applicable): Some valves, especially on higher-end or older self-inflating mats, have rubber O-ring seals. Over the years, these can dry out or crack. If you notice a slow leak at the valve, examine any accessible O-ring. These are often replaceable, and manufacturers or outdoor gear shops may supply spares. It's wise to carry a couple of spare O-rings for your mat on long trips. I generally keep any easy-to-lose items like this in my first aid kit.
Don't force a stuck valve: If a valve seems stuck (for example, a one-way valve that isn't letting air in or out correctly), don't force it with pliers or other tools, which could break it. First, make sure there's no internal pressure by opening any secondary caps. For valves with flip tops, sometimes a bit of dirt is caught - clean it gently. In cold weather, a plastic valve might stiffen; warming it in your hands for a minute can help.
Replacement or repair: Unfortunately, a cracked or broken valve is difficult to fix permanently in the field. If your valve breaks and the mat won't hold air, you may use a temporary fix, such as duct tape, over the valve hole. Some manufacturers offer valve repair services, and DIY valve replacement kits exist for certain models. Inspect your valves before a major trip. If they're heavily worn or loose, consider contacting the manufacturer for advice before you're out on a trek with a failing sleeping mat.
By treating the valve with care and keeping it clean, you'll significantly reduce the chances of leaks and make inflation/deflation easier every time.
Even experienced campers slip up sometimes.

We've already covered some of these, but here are some frequent mistakes people make with sleeping mats - and why you should avoid them:
If your
sleeping mat
eventually becomes beyond repair, consider dropping a few hints to loved ones, as they can make great
gifts!
Take good care of your mat, and it will serve you well for years. A quick clean with mild soap, a thorough dry inside and out, and sensible storage with the valve left open in a cool, dry place will prevent mould from forming and keep valves working smoothly. Avoid harsh cleaners, direct heat, or rolling it too tightly. If possible, use a pump sack in colder months to reduce condensation. These simple habits will keep your mat comfortable, reliable and ready for every trip.
Before packing away, give it a once-over for dirt in the valve, slow leaks or worn spots, as catching minor issues early is far easier than a repair in the field. With a little routine care, you'll enjoy many nights of warm, dry sleep under the stars.
Happy, clean and warm camping...
Yes. All mats should be hand-washed with mild soap, but closed-cell foam mats are easiest as they can be rinsed or scrubbed freely. Self-inflating and air mattresses must be cleaned carefully to prevent water from entering the valve and interior. Airbeds can be wiped section by section and must be dried thoroughly before storage.
No. Machines can tear seams, delaminate coatings and warp the foam or fabric. Always clean gently by hand and air-dry.
You can treat mildew and bad odours by using a 50/50 white vinegar-water solution, then rinse and dry thoroughly. If mould is inside, options are limited, but short exposure to sunlight can help.
Yes, over time. Breath adds moisture that can cause mould or freeze in winter. Occasional use is acceptable, but a pump sack is better, and always dry the mat or pad afterwards.
Flat and uncompressed is best, with the valve open. If space is tight, loosely roll it in a large bag, not the tight stuff sack. Only fold when unavoidable, and always store it bone dry.
At least once a year. If you use it frequently, or if it gets sweaty or muddy, clean it after each primary use. Always wipe spills or repellents off immediately.
September 2025