By using this website, you agree to our use of cookies (needed to provide our website’s features) and our Terms of Use.
By: Andrew Forrest - June 2023
Walking and hiking boots are a key part of your outdoor walking and adventures. This guide walks you through the steps to clean, dry and care for your boots, no matter the material, which can greatly extend their lifespan ensuring peak performance.
This page contains affiliate links. If you buy products or services via these links, we may earn a small commission at no cost to you. If you are thinking of buying, please use our links, as it helps support our website and YouTube channel.
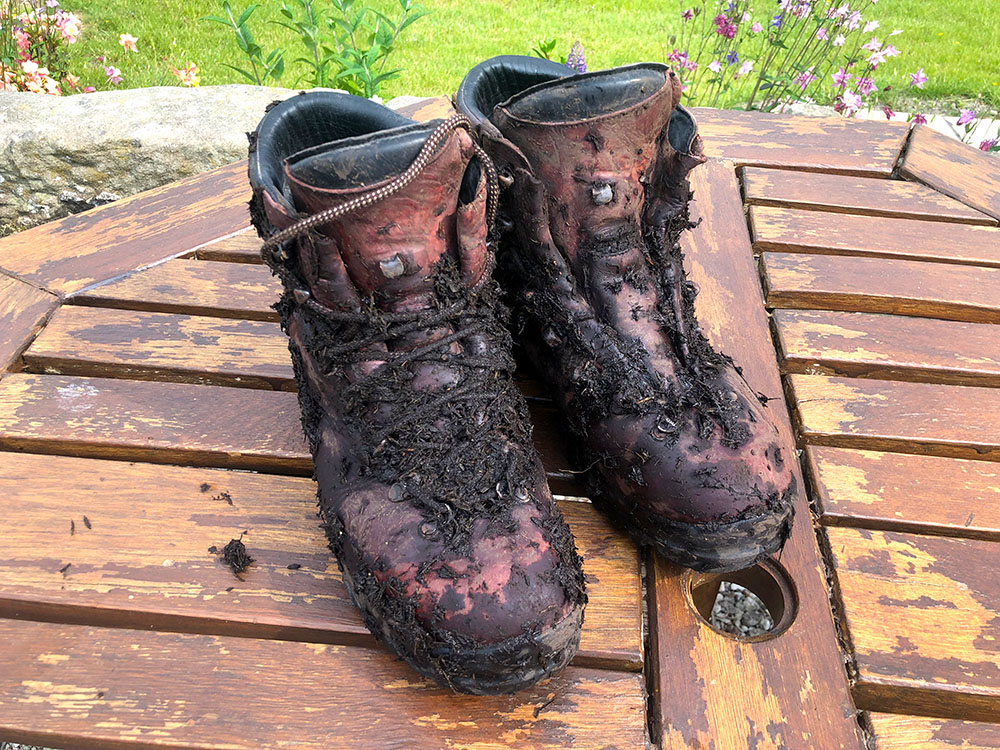
Whether you are going on a simple walk in the park or a trek up a mountain, your boots can attract a lot of mud, dirt and other debris.
Leaving the mud on the boots might be good for that "I've been for a long, hard walk" look in the pub, but it does nothing for the longevity and performance of your boots. Your boots may have to encounter bogs, sticky mud, streams, scree, rain, rocks, tree stumps, snow and much, much more on their journeys.
This comprehensive guide on how to clean and dry hiking boots will walk you through the steps to clean, dry and care for your boots, no matter the material.
As an added bonus, not only does looking after your footwear help extends its longevity, but it also can help prevent blisters. Cleaning and waterproofing your boots will help keep your feet dry, thus potentially eliminating one of the causes of blisters.
We'll cover everything from preparation and cleaning to waterproofing, re-proofing, deodorising, on-trail cleaning tips and much more. So let's jump in and give your trusty boots the TLC they deserve!
Before you begin cleaning your hiking boots, it's essential to properly prepare them.
This process should begin when nearing the end of your walk. You can wipe off mud and dirt on wet grass from your boot, or walk through puddles or shallow streams and wipe off against any long grass. Then before putting them in your car or away, wipe them with a damp cloth.
Then, once at home, we can move on to the cleaning, which involves removing laces and insoles, gathering the right tools and footwear cleaner, and knowing what your boots are made of!
Proper preparation not only makes the cleaning process easier but also helps maintain the quality and longevity of your boots.
To ensure thorough cleaning, you need to remove the laces and insoles from your walking boots. This allows you to clean the nooks and crannies that might be hiding dirt and debris, as well as properly clean the laces and insoles themselves. An old toothbrush can help brush in the small gaps in the eyelets.
Wash the laces in warm soapy water to get rid of any mud and dirt and set them aside to dry.
Set aside your insoles.
No need for fancy cleaning tools here... you only need a few basic household items. These are a hand brush, warm water, mild washing-up liquid or a specialist boot cleaning product and a cloth. These will help you effectively clean your walking boots without causing damage to the material.
In the UK, the main two manufacturers who make cleaning, waterproofing and conditioning products for outdoor boots, equipment and garments are Nikwax and Grangers, both of whom have been making these products for many, many years and I'm a fan and user of both brands.
Knowing the material of your boots is key to choosing the right cleaning techniques. Walking and hiking boots can be made from various materials such as full-grain or split-grain leather, suede, nubuck or synthetic materials, where Gore-Tex can often be added.
Each material requires specific cleaning and proofing methods to maintain its integrity and performance.
The cleaning techniques for the exterior of your boots will vary depending on the material. If you are not sure what material your boots are made of you should be able to find the information on the manufacturer's website, or from the retailer you bought them from.
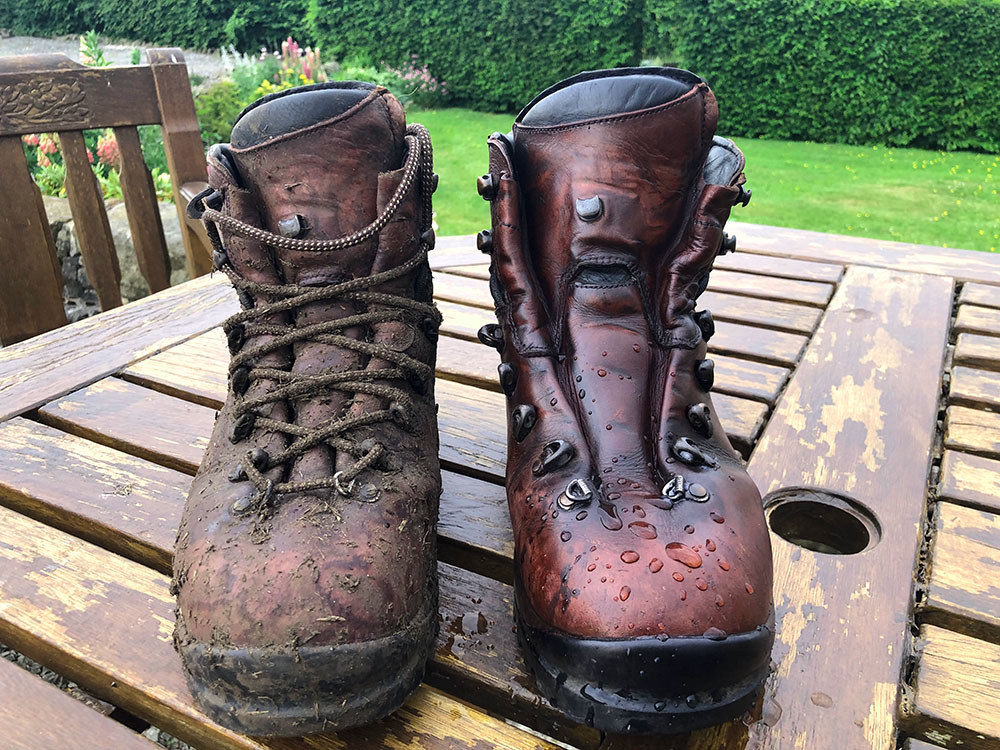
Leather Scarpa Boots after a walk on Pendle Hill - through some boggy sections
Leather boots, whether full-grain leather boots or split-grain leather, are known for their durability and classic appeal, but leather requires proper care to maintain its performance.
A good tip when cleaning leather or suede/nubuck hiking boots is to first wrap a towel around your hand and place it inside the boot to keep the inside dry whilst you clean.
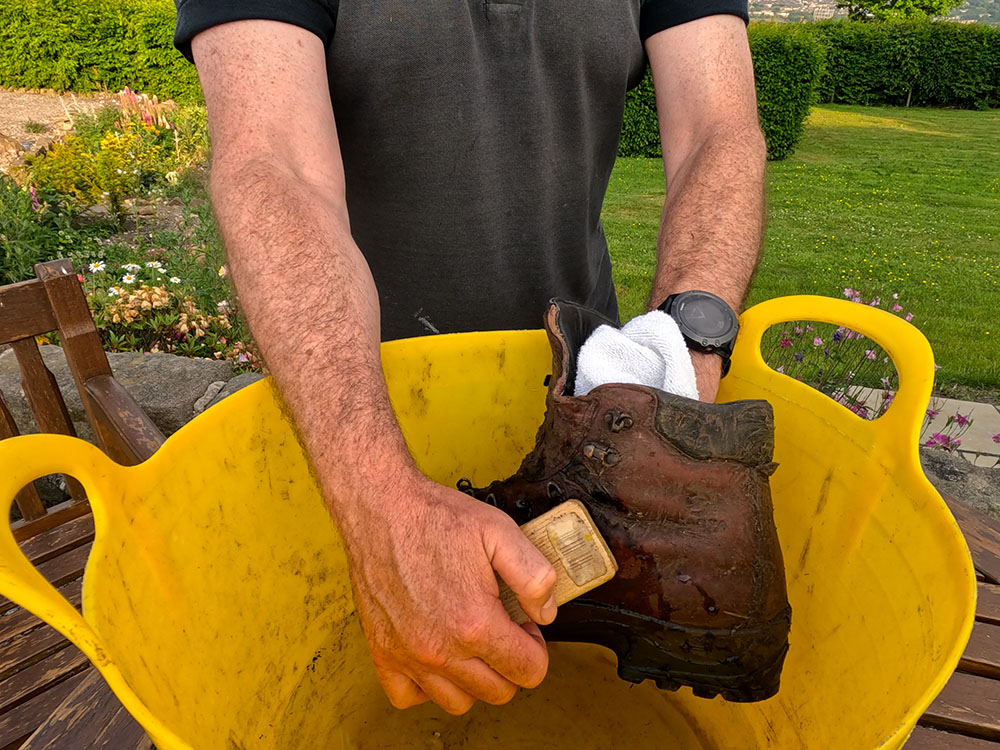
Cleaning my Scarpa SL leather boots
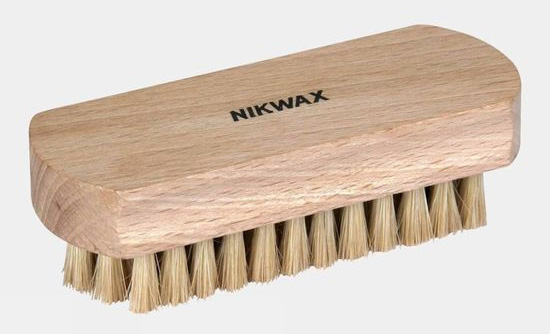
Remove any loose mud and dirt with a brush. Many household semi-stiff cleaning brushes will do this, but you can buy a specific Grangers Footwear Brush or a Nikwax Shoe Brush that will do the job.
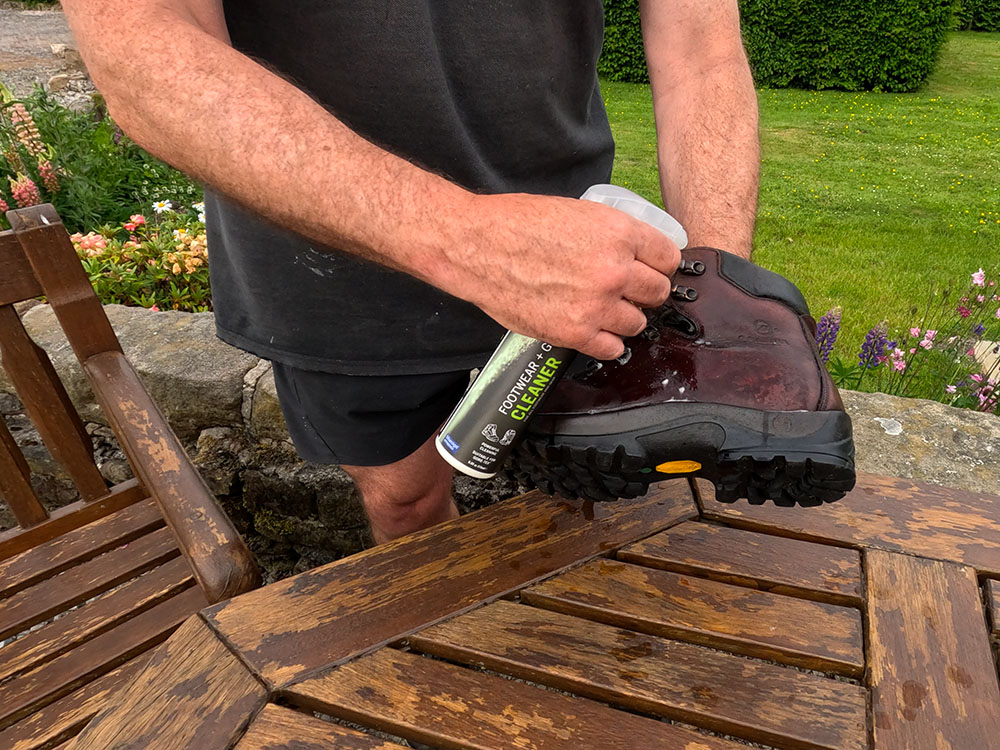
Applying Grangers Footwear Cleaner
Scrub and rinse your leather boots with warm water. Try not to use too much water, as that can affect the shape of the uppers. Remember that if you are using an inside sink, brush off as much mud/dirt as possible outside first, so you don't clog up your sink!
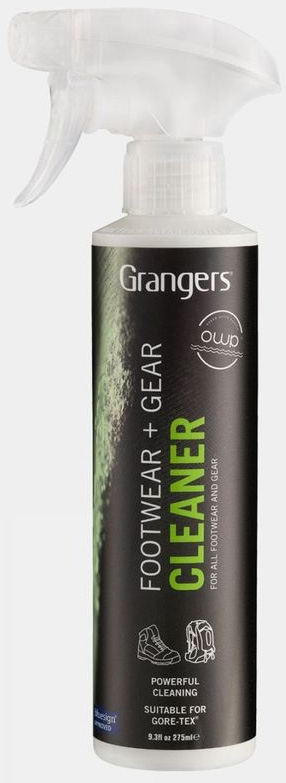
That may get them clean on its own, but I always use a specialist footwear cleaner like Grangers Footwear + Gear Cleaner as well. You just spray it on and wipe it off with a wet, clean soft cloth.
Suede and nubuck boots have a unique texture that appeals to many hikers. They are both types of leather.
Suede is a type of leather made from the underside of the animal skin, giving it a soft surface. It is generally softer, thinner, and not as strong as full-grain, traditional leather. Nubuck is also a soft leather made from the top grain of animal hide, like standard leather. Nubuck is then sanded down to give it a smooth finish. Due to the nap and softness, one side effect is that dirt clings more to them than to smooth leather.
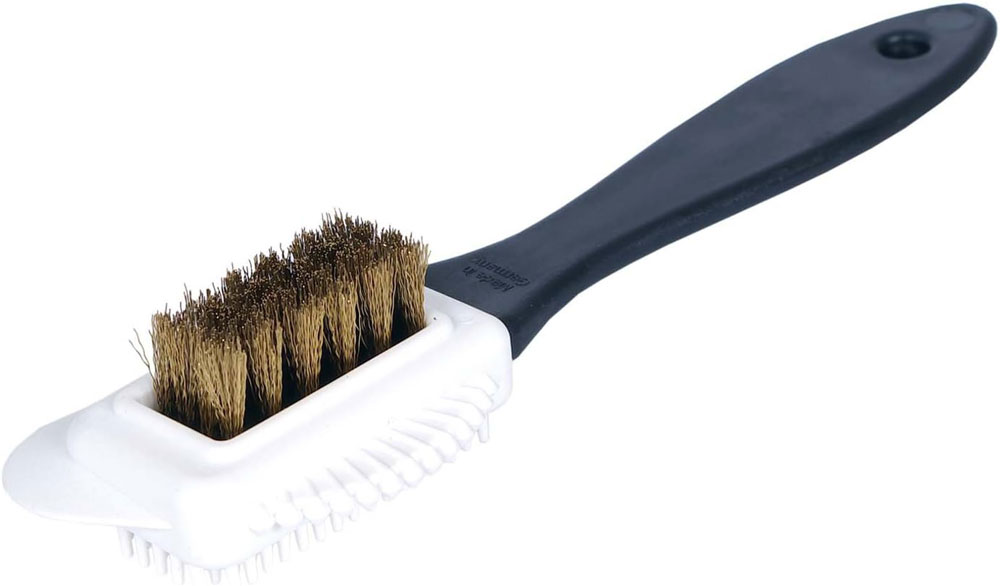
To keep them looking great, brush off any loose mud and dirt using a specific 4-sided suede and nubuck brush.
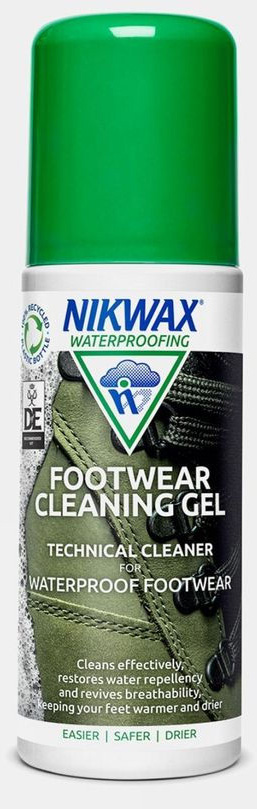
That may get them clean on its own, if not use a specialist footwear cleaner like Grangers Footwear + Gear Cleaner as well. You just spray it on and wipe it off with a wet, clean cloth. Or you can use Nikwax Footwear Cleaning Gel, which you sponge on and rinse with clean water. Again, as with leather, try not to use too much water, as that can affect the shape of the uppers. Wipe off any residue with a damp soft cloth.
Synthetic walking boots are popular due to them being lightweight, breathable and quick-drying. They often include Gore-Tex or eVent waterproof membranes. They are a great choice for those who prefer not to use animal products such as leather.
To clean, brush off any loose mud and dirt with a brush. Many household semi-stiff cleaning brushes will do this, but you can buy a specific Grangers Footwear Brush or a Nikwax Shoe Brush that will do the job.
Scrub and rinse your boots with warm water. That may get them clean on its own, but I always use a specialist footwear cleaner like Grangers Footwear + Gear Cleaner as well. You just spray it on and wipe it off with a wet, clean cloth. Or you can use Nikwax Footwear Cleaning Gel, which you sponge on and rinse with clean water.
Waterproofing and re-proofing your hiking boots are necessary steps to ensure their longevity and performance. If you start to notice water is soaking into the outer fabric of the boot, rather than beading off, it's time to give your walking boots a re-proof.
Selecting the right waterproofing product for your boots depends on the material they're made of and these products along with your cleaning tools make up your full cleaning kit.
For the best protection, choose a product specifically designed for your boot material and follow the manufacturer's instructions for application.
Products and formulations are always being improved and changed, so always read the manufacturer's instructions before use to ensure it's suitable for your boots and you know how to apply, especially if the boots contain Gore-Tex in their construction.
Full leather boots require special care when it comes to waterproofing and re-proofing. After you have cleaned your walking boots following the above directions, it's time to apply a conditioner/waterproofer.
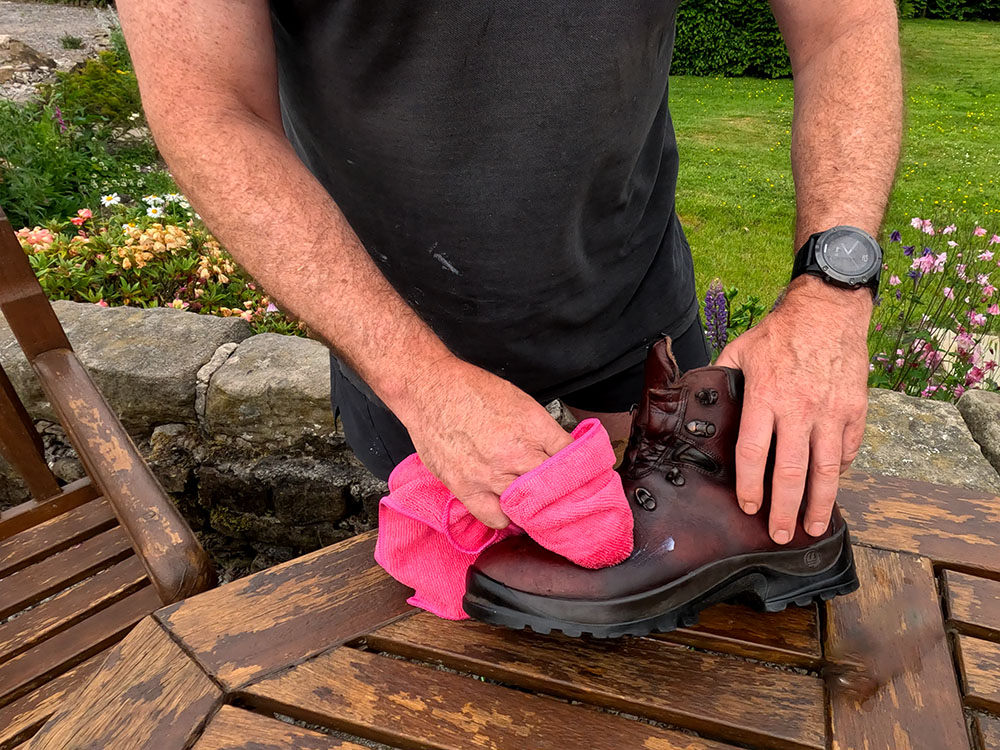
Working in Grangers G-Wax into the hiking boot
For the wax and creams, allow the leather boots to dry naturally first before applying... more on that shortly. If you are applying a water-based proofer, you need to apply it straight away whilst the boots are still wet/damp.
You can then apply a wax such as Grangers G-Wax or Grangers Waterproofing Footwear Wax, a cream such as Nikwax Waterproof Cream, or a water-based proofer such as Nikwax Conditioner for Leather... the choice is yours!
For Grangers G-Wax or Grangers Waterproofing Footwear Wax, apply sparingly to a clean cloth rubbing onto your clean, dry leather boot. Apply 2-3 thin coats, allowing your boots to dry between applications.
For Nikwax Waterproof Cream, rub the wax into the dry leather boot using the sponge applicator or your finger, then remove any excess with a cloth and buff to shine.
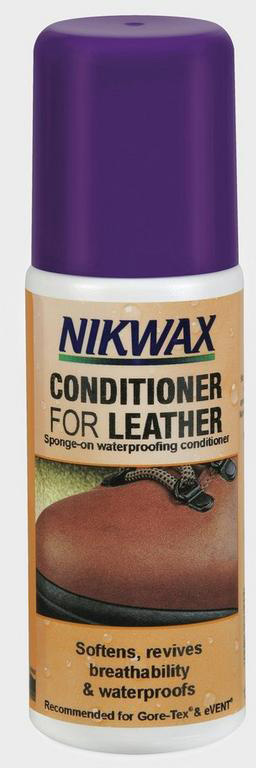
For the Nikwax Conditioner for Leather, you use the sponger applicator and apply it to wet leather, before removing any surplus.
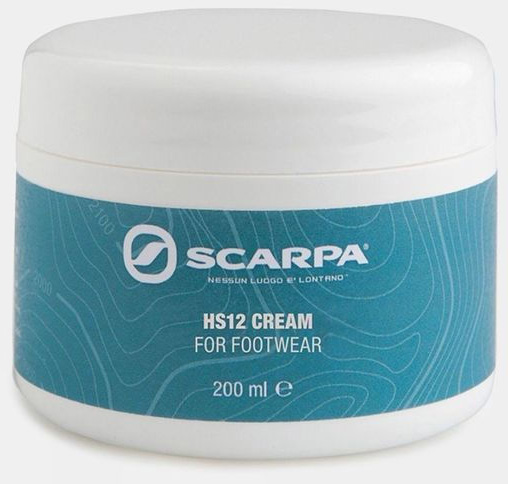
One manufacturer of leather boots also has their own cream, which I have used in the past on my Scarpa SLs, which is Scarpa. The cream is the Scarpa HS12 Cream for footwear and I have used it along with Grangers G-Wax successfully on my boots for many years. This can be used on other leather boots - they don't have to be Scarpa's!
Whatever product you use, make sure you focus on the stitching, seams and joints of the boot for optimal protection.
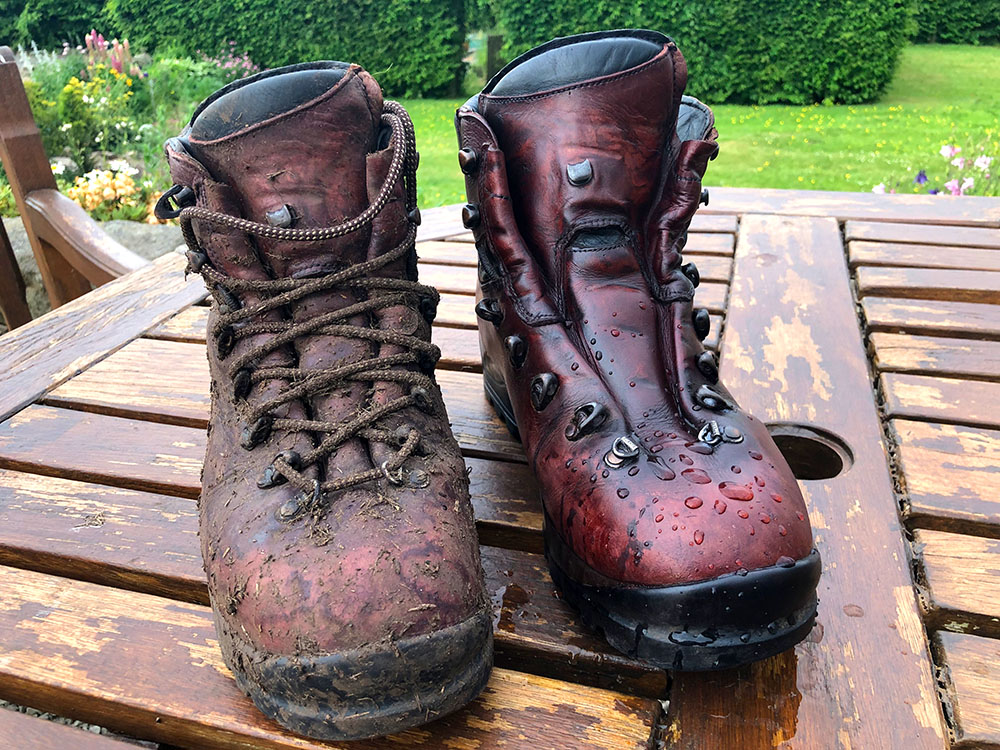
Hiking boots - before and after cleaning and reproofing
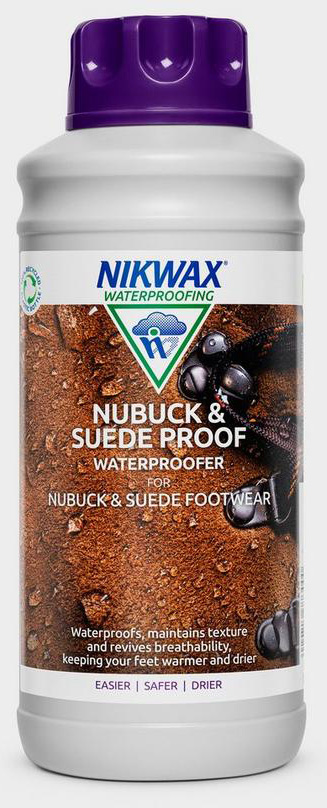
For suede and nubuck walking boots, after you have clean walking boots treat them with a waterproofing spray like Nikwax Nubuck & Suede Proof. This will help keep them waterproof, maintain their appearance and protect them from water damage.
Apply the Nikwax Nubuck & Suede Proof generously to wet boots - either spray or sponge on. Remove any excess drips and then allow them to dry naturally.
As suede and nubuck are forms of leather, it is possible to use the other leather proofers mentioned above, but doing so will change the appearance of the suede/nubuck, so I would strongly advise against it and just use a specific nubuck and suede proofer.
As with the leather boot, make sure you focus on the stitching, seams and joints of the boot for optimal protection.
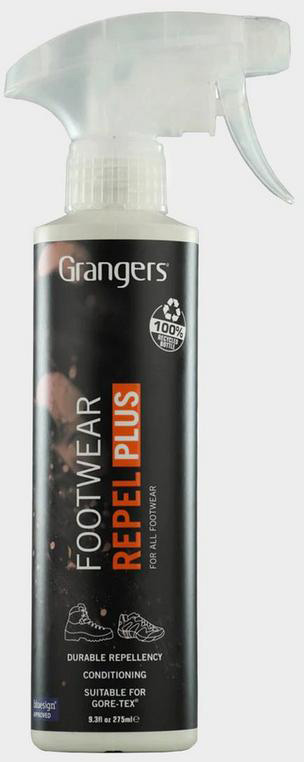
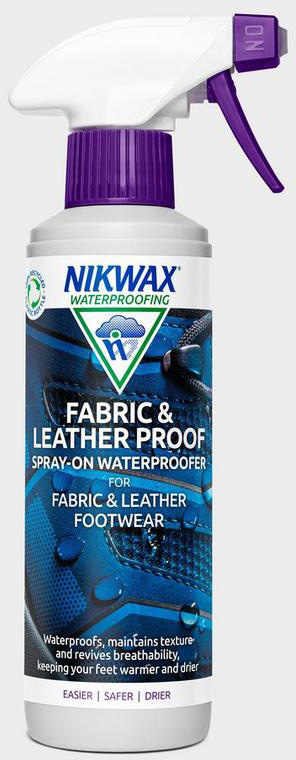
Synthetic walking boots also benefit from regular waterproofing and re-proofing treatments. Clean your walking boots as above and then, while they're still damp, apply a waterproofing spray such as Grangers Footwear Repel or Nikwax Fabric and Leather Proof Spray to restore the DWR (durable water-repellent) membrane that can wear down over time.
You apply both products in the same way. Spray the product on to wet/damp boots immediately after cleaning. Remove any excess with a clean cloth and allow them to dry naturally. If required, you can apply a second coat once they are dry.
It is important to apply a re-proofer to synthetic boots while they are still wet/damp after cleaning as this will help the proofer soak into the material, helping the protection last longer.
Re-proof your boots regularly to maintain their waterproof capabilities. How often you need to do this, depends on how often you use them, the paths you are walking on and the conditions they're exposed to.
If you start to notice water is soaking into the outer fabric of the boot, rather than beading off, it's time to give your walking boots a re-proof.
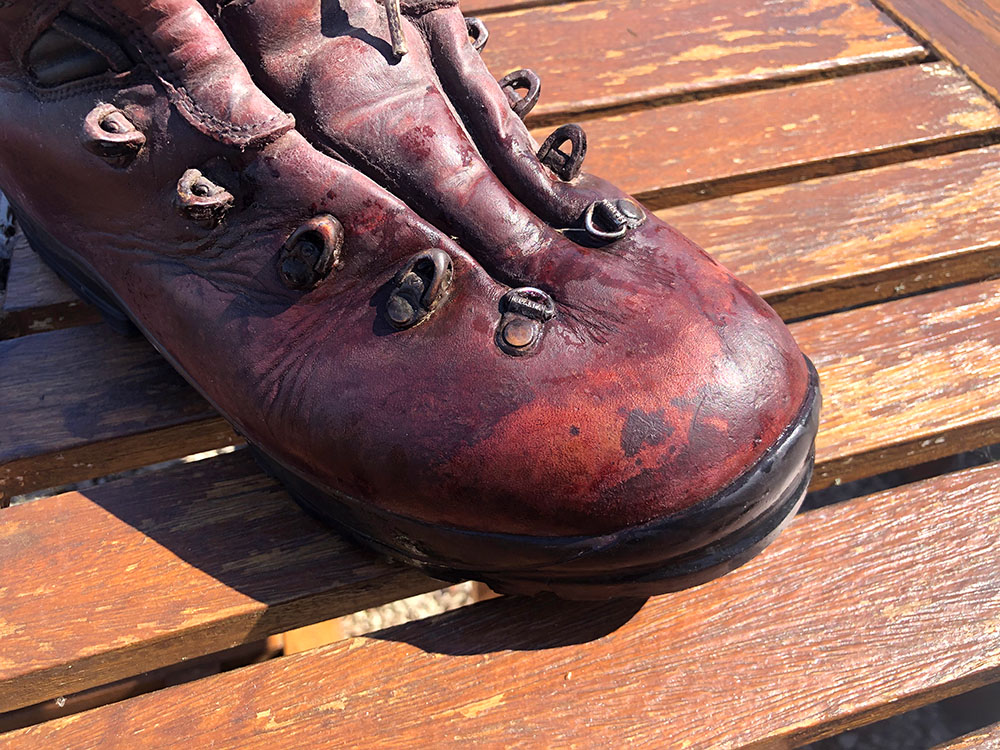
Water soaked into leather on hiking boot - no longer beading
I generally carry out the cleaning steps with a brush and warm water after each walk. At least once a month I also use one of the cleaning products as well during that process. Then, every few months following a thorough clean, I'll re-proof them using the above products - sooner if I start seeing water soak in rather than bead off the boot.
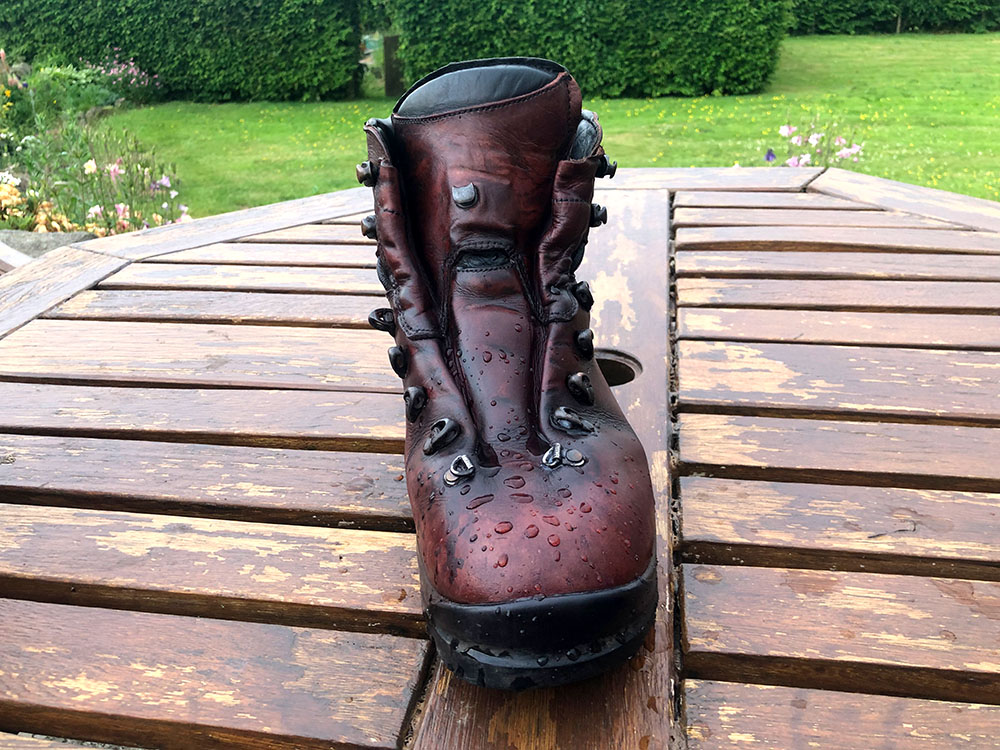
Hiking boot after cleaning and reproofing - boot starts to bead and repel water again
Doing this will help to ensure that your boots remain waterproof and in good condition for longer.
After cleaning the exterior of your walking boots, it's time to tackle the insides where sweat, mud, dirt and all-sorts of nasties may lurk. This step is key for maintaining a comfortable and odour-free environment for your feet.
With the insoles removed, I start by tipping the boot upside down and shaking it to get any loose impediments out of the boot. Then using my hand, I gently feel around the inside of the boot to remove anything that is stuck into the inside and again tip the boot upside down to remove. A couple of people I know also use a vacuum attachment as well at this stage to vacuum inside the shoe!
Don't use a brush, be it a stiff brush or soft brush inside your shoe, as this may damage the lining.
Then, wipe the inside with a damp cloth and a little washing-up liquid and then wipe with just a damp cloth.
Every so often, I do give the insides a bit more of a thorough clean by washing them with warm water and some washing-up liquid. I then rinse it and leave it to dry naturally.
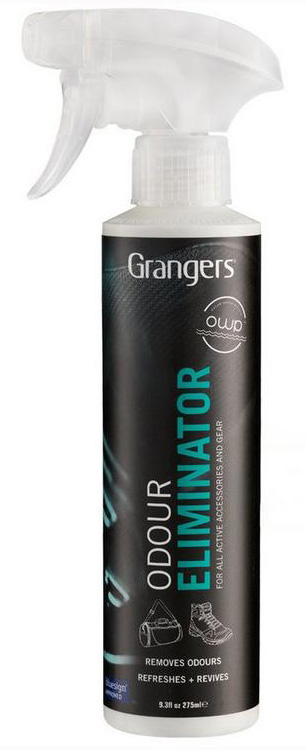
Once dry, I deodorise the insides by spraying in some Grangers Odour Eliminator and then just allow it to dry naturally.
Before using a specific deodorising product, I did used to use a kitchen staple, and many people still do - bicarbonate of soda (baking soda). It works as a natural deodoriser.
Baking soda is a fantastic natural deodorizer that can help eliminate unwanted odours from your walking boots. Sprinkle a generous amount of baking soda inside the boots and leave overnight to absorb odours. The next morning, remove the baking soda by shaking it out or using a vacuum cleaner.
Don't get mixed up with your baking sodas and baking powders - they are different. Baking powder is much less effective than baking soda and you'd need to use approximately 4 times as much to get almost similar, but not quite as good results.
Once removed from your hiking boots, you can hand wash your insoles using warm water and soap. Then set aside to dry.
Once you have given them a wash, if there are still any lingering odours, you can spray them with Grangers Odour Eliminator or sprinkle them with bicarbonate of soda.
Ensure your insoles are fully dry before inserting them back into your hiking boots.
One more fun way (and they make excellent gifts for the walkers/hikers you never know what to buy for) to deodorise and help dry your boots is using a Boot Banana. I was a little sceptical when I first bought one but I find they do work!
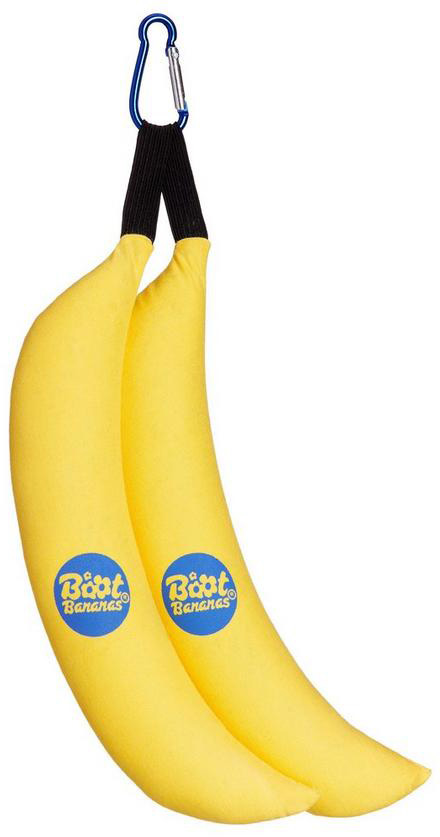
The Boot Banana Original Shoe Deodoriser is odour neutralising, moisture absorbent and has natural antimicrobial properties. Just leave it in your boot.
Once the inside and outside of your boots are clean and free from mud and dirt, proper drying and shaping are also crucial to maintaining their performance and longevity.
The most effective method for drying your boots is to let them air dry naturally. Hang them upside down in a well-ventilated area away from direct heat sources to prevent damage to the material.
You should never use a direct heat source like heaters or fires, which can cause boots to dry too quickly, resulting in cracking and discolouration.
Using scrunched-up newspapers or towels is another great way to help your walking boots dry faster and maintain their shape so they dry naturally. Stuff the boots with dry newspapers, paper towels or cotton towels to absorb the majority of the wetness.
Change the newspapers/towels regularly for the first couple of hours and then remove them to allow the boots to dry naturally.
Depending on how wet the boots were, the drying process may take some time.
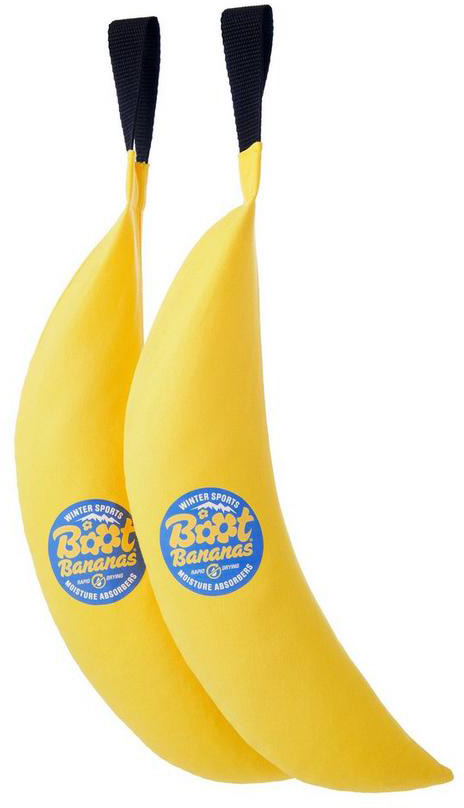
As with the deodoriser, one more fun way (and again they make excellent gifts for the walkers/hikers you never know what to buy for) to help dry your boots quicker is using a Boot Banana. The Boot Banana Winter Sports Moisture Absorbers help dry your boots a lot quicker. They are silica filled and absorb up to 40% of their weight in moisture.
Regular boot maintenance and wear checks are essential for ensuring the longevity and performance of your hiking boots. This involves inspecting the soles for wear and tear, examining the uppers for potential issues, and caring for hooks and eyelets.
Hiking boots only have a finite life, but you can help make that as long as possible by taking care of your boots. If your hiking boots are past their best and no longer performing, check out our guide to the best hiking boots of 2025. It includes details on what to consider when buying them, the types of boots available, and the many features.
A thorough inspection of your boots' soles is key to identify any wear and tear, damage, or embedded debris that could affect their performance and potentially cause water ingress. Check for any cracks, holes, or separation of materials, and take action to repair or replace the boots if needed.
If you start feeling the ground through your feet, or there is very little tread left, there is a good chance your sole is worn out! Good grip and traction are essential when you are out on the hills.
As with the sole, examining the uppers of your walking boots can help you identify potential issues and ensure they remain waterproof and comfortable. Look for signs of holes/wear that may allow water ingress.
I tend to wear the soles of leather hiking boots out long before the uppers, but on synthetic boots and fell shoes, I wear the uppers out much quicker than the soles. The main areas are generally where your big toe strikes your boot and in the fold created in the shoe on top of your toes when you are pushing off on your foot strike.
Again, once you start to get water ingress and find issues with the uppers, it's time to change your boots.
To extend the life of your boots' hooks and eyelets, clean them with a small brush to remove any dirt or mud as part of the boot clean. Also, make sure you clean/wipe the stitch lines under the laces. Then applying a small amount of boot wax to them such as Grangers G-Wax can help protect them from corrosion and keep them functioning smoothly. On suede/nubuck/synthetic boots, make sure you keep the wax solely on the hooks and eyelets and don't get it on the boot material itself.
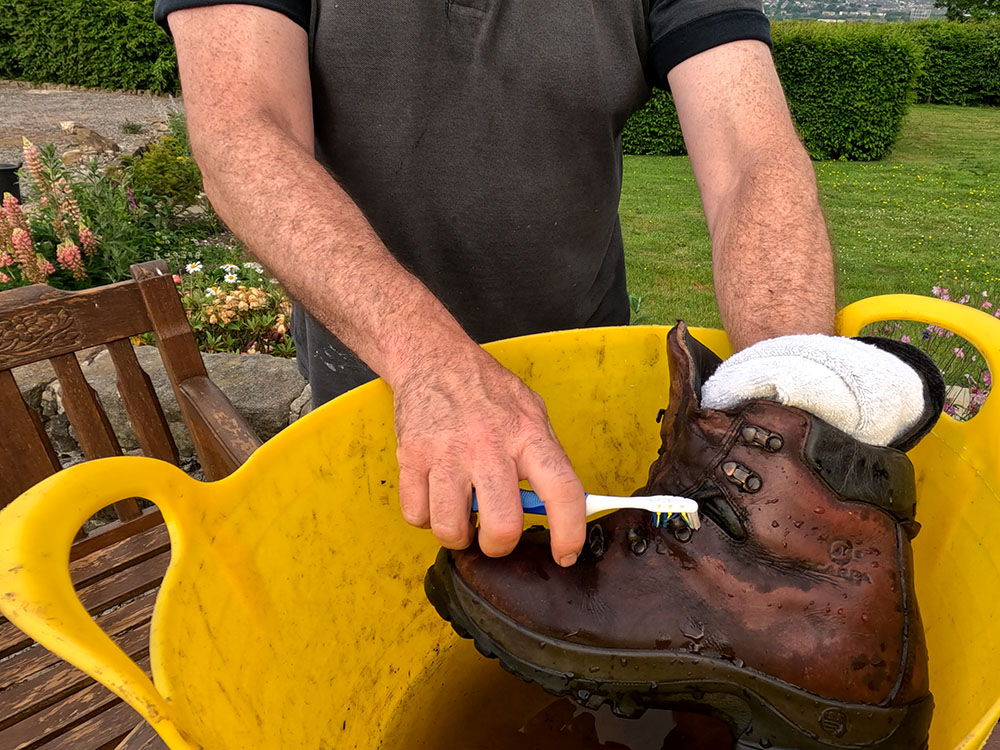
Using a toothbrush to clean around hooks and eyelets on hiking boot
When storing them at home, it's important to keep them in a cool, dry place away from direct sunlight to maintain their shape and prevent damage.
Maybe try using a boot rack or a storage chest to help you organize and store your boots. I find a boot rack the best as it allows air to flow around the boots.
Do not store your boots in rooms with heated floors as that can dry out the rubber, make them less grippy and shorten the life of the sole.
If you have one, remember to put your Boot Banana Original Shoe Deordoriser inside it!
In conclusion, proper care and maintenance of your hiking boots are essential for ensuring their longevity, performance and comfort. From preparing and cleaning to waterproofing, re-proofing, deodorising and even on-trail cleaning, following these comprehensive steps will help you keep your hiking boots in tip-top shape.
So, show your hiking boots the love and attention they deserve, and they'll continue to support you on all your walks and outdoor adventures.
Happy walking...
June 2023