By using this website, you agree to our use of cookies (needed to provide our website’s features) and our Terms of Use.
By: Andrew Forrest - December 2022
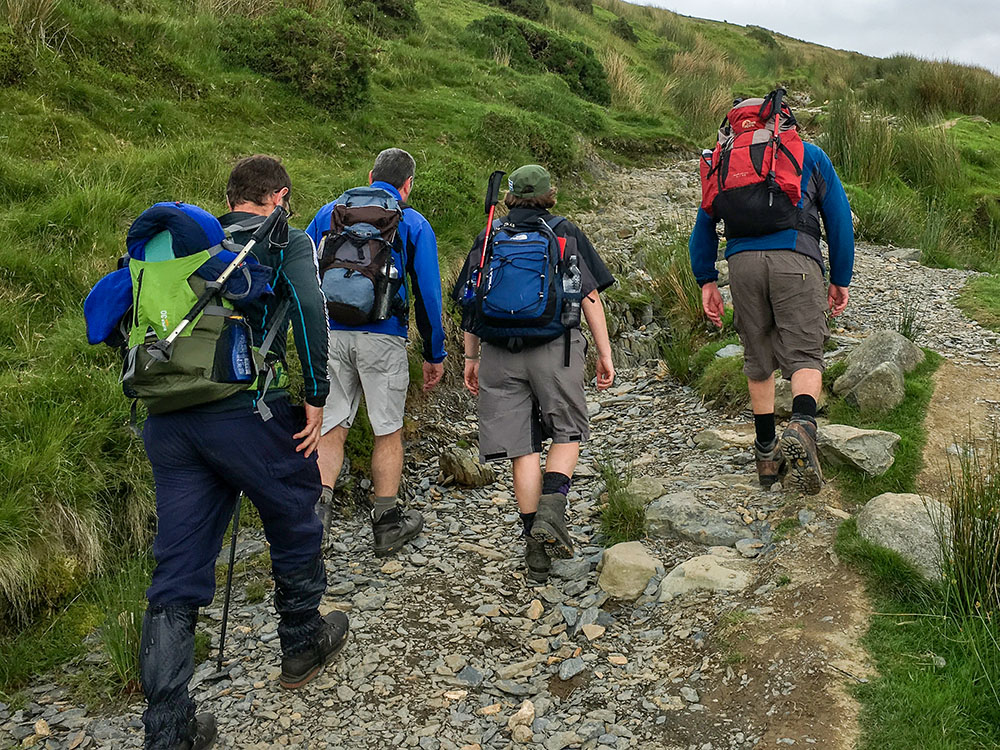
Most of us have experienced blisters whilst walking or hiking - but do we have to? If you are out on a hike and that sore spot starts to form on your foot, what can you do to prevent it from getting worse, or better still, stop blisters from forming in the first place?
This page contains affiliate links. If you buy products or services via these links, we may earn a small commission at no cost to you. If you are thinking of buying, please use our links, as it helps support our website and YouTube channel.
I've suffered from many myself, but most were due to wet feet from wading through streams partaking in mountain marathons. Blisters can make your walk or hike very uncomfortable, slow you down and then cause you pain for the next few days.
Before we look at tips for preventing and treating blisters, we need to understand why blisters occur in the first place.
The information provided here is intended for general educational purposes only and should not be regarded as medical advice or a substitute for professional healthcare. If you are experiencing a medical emergency or serious symptoms, seek immediate assistance from a qualified medical professional or contact emergency services. Always consult your GP or a healthcare provider for personalised medical guidance and treatment.
Before beginning any exercise programme, especially if you are new to exercise, returning after a break, or have any existing health concerns, you should consult with your GP or a qualified healthcare provider. Always listen to your body and stop immediately if you feel discomfort, dizziness, or pain.
There are several causes why blisters form on feet whilst walking or hiking - friction, pressure, heat and moisture.
Walking and hiking, especially over long distances or over uneven ground, creates constant friction and pressure on your feet as your boots and socks rub against the outer layer of skin on your feet. This can then lead to a separation of the outer layer of skin from the lower layers, creating what are known as 'hot spots'.
This is your body's own internal defences working - it is believed that the body forms the blister containing fluid to cushion the wound from further pressure.
Blisters usually develop in areas where heat or moisture aggravates the skin by causing pressure or friction. There are lots of sweat glands on your feet, so it can get quite warm and humid in your shoe/boot.
The most common areas for blisters on feet are:
These are commonly caused by:
Blisters are often preventable and to do that we need to reduce or eliminate the causes.
To prevent blisters whilst hiking or walking, you need to reduce or eliminate the factors that cause blisters, so reduce or eliminate friction, pressure, heat and moisture.
We've set out below our top tips for preventing blisters:

 |
 |
|
|
|
|
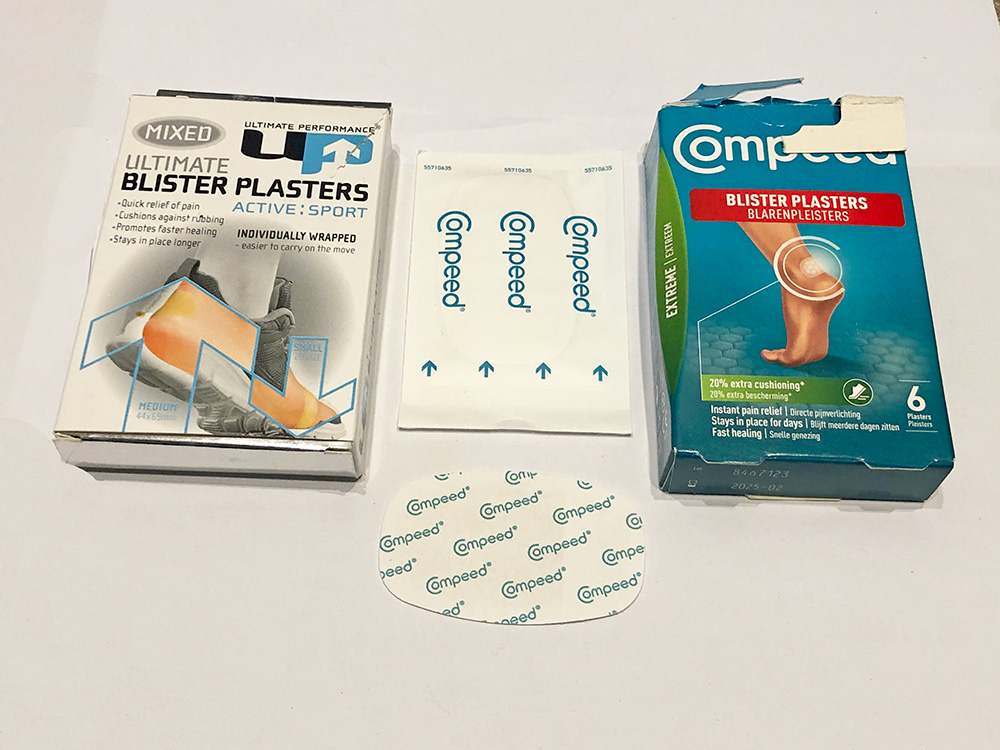
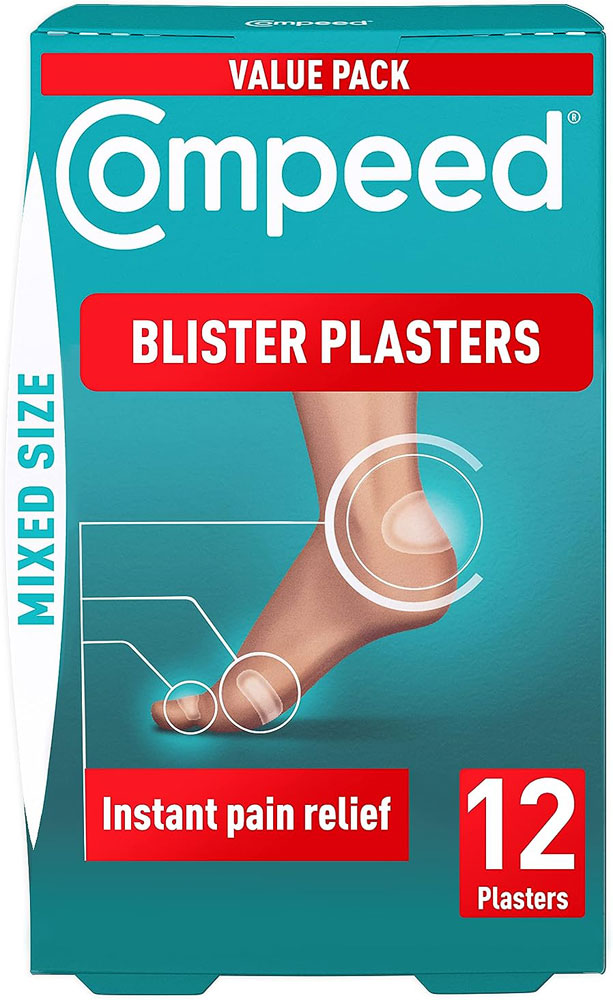
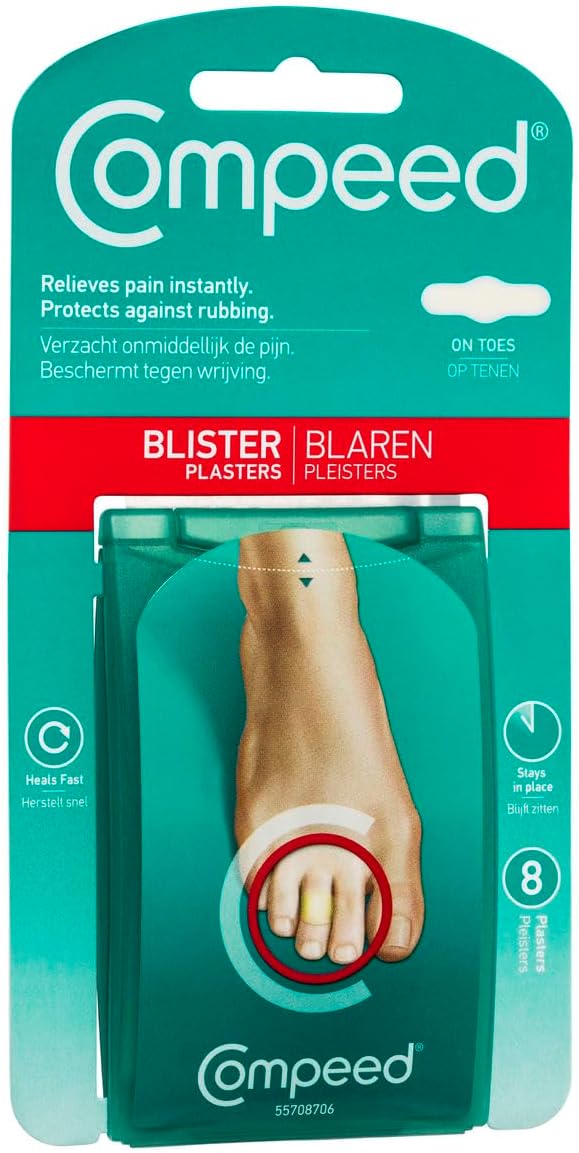
Blister plasters
Applied to a dry foot, I've found these Compeed blister plasters always stick and instantly relieve most of the blister pain. Read the instructions as to how to apply and then you basically just leave it in place for a few days until the blister plaster falls off naturally. Elastoplast and the other brands may be just as good, but I found one that works for me, so I haven't moved away from it.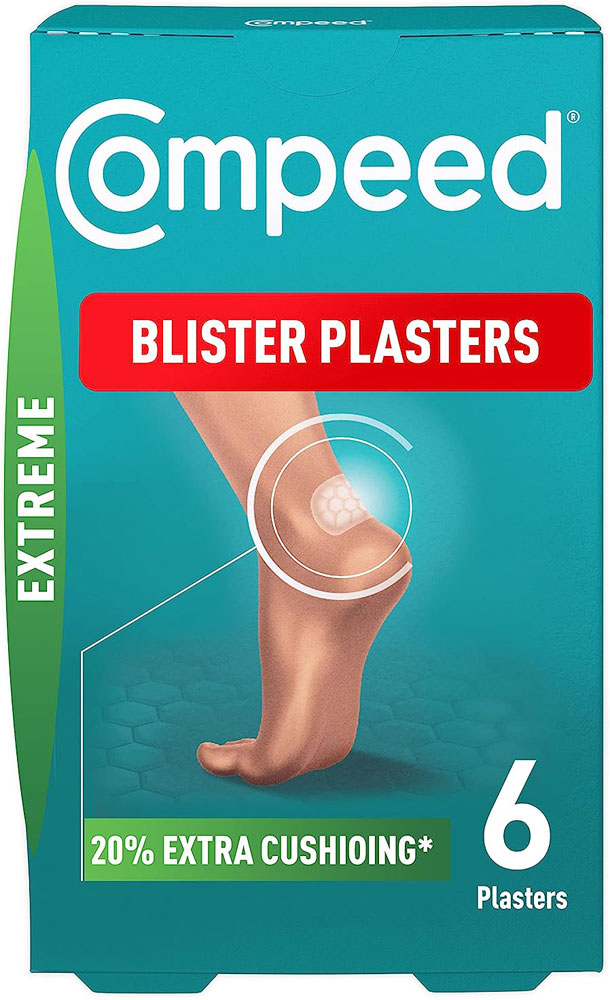
|
|
|
|
|
|
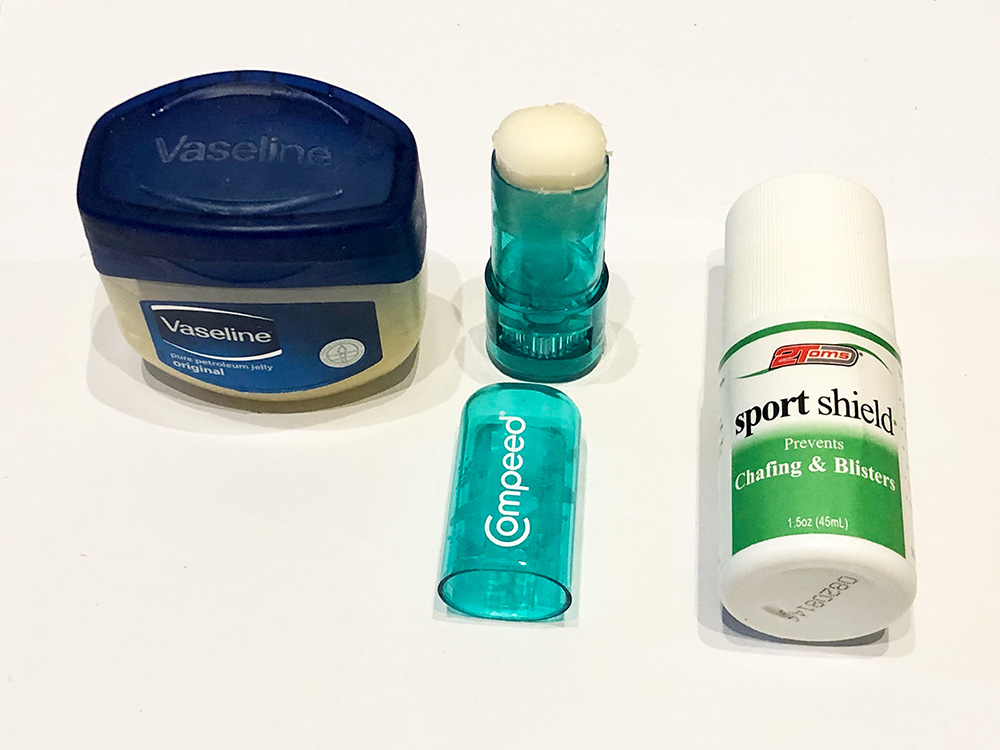
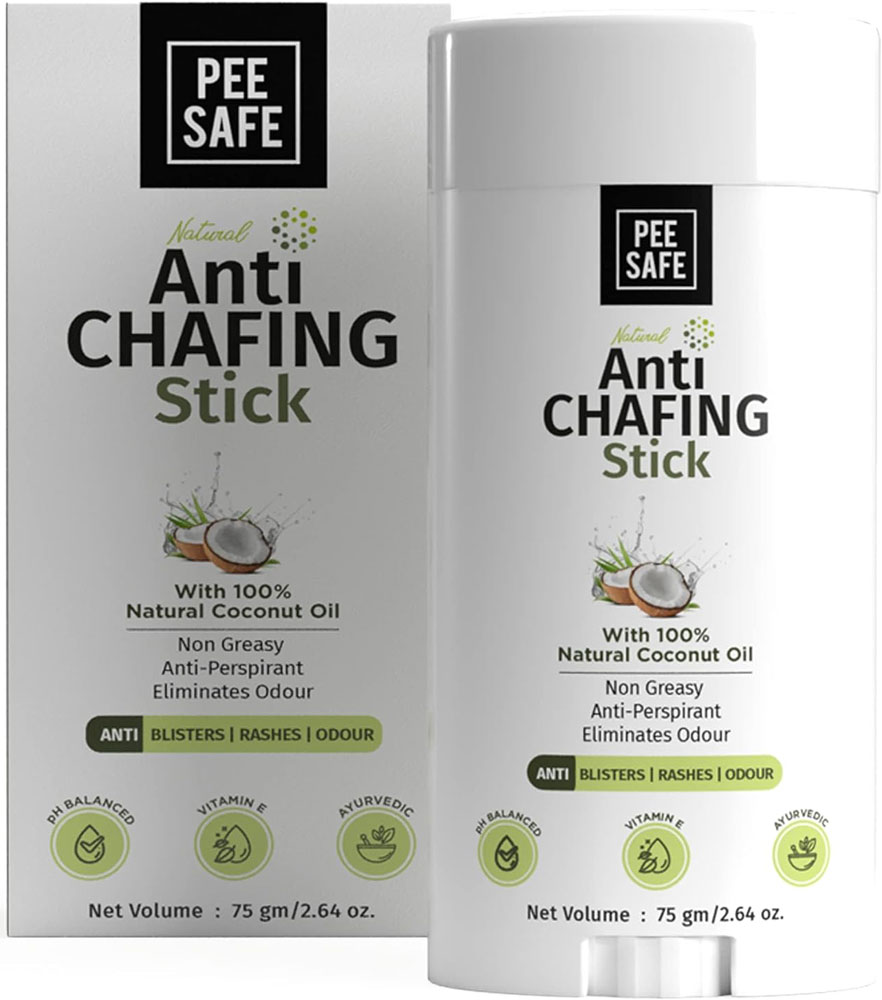
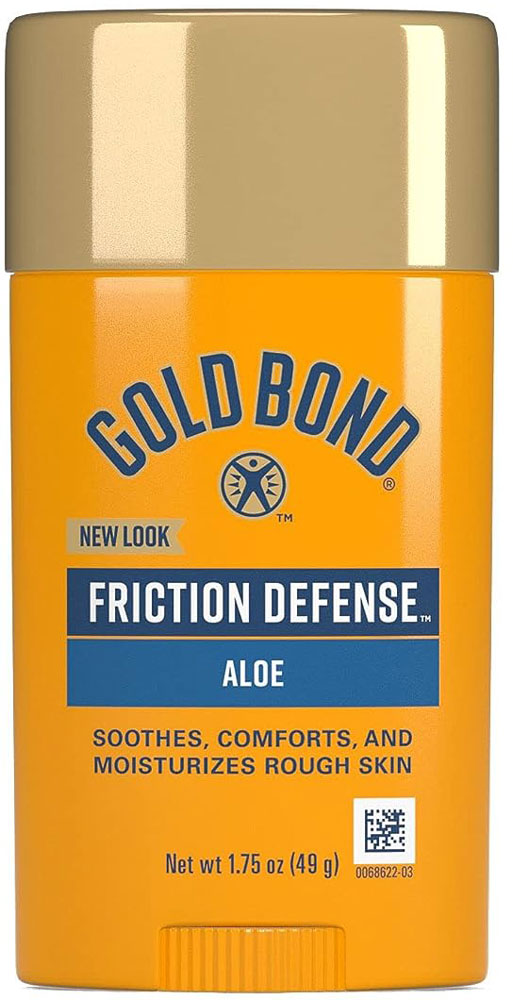
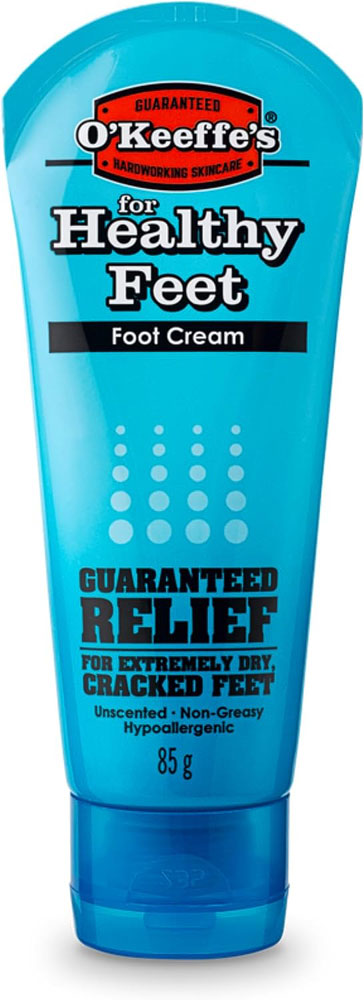
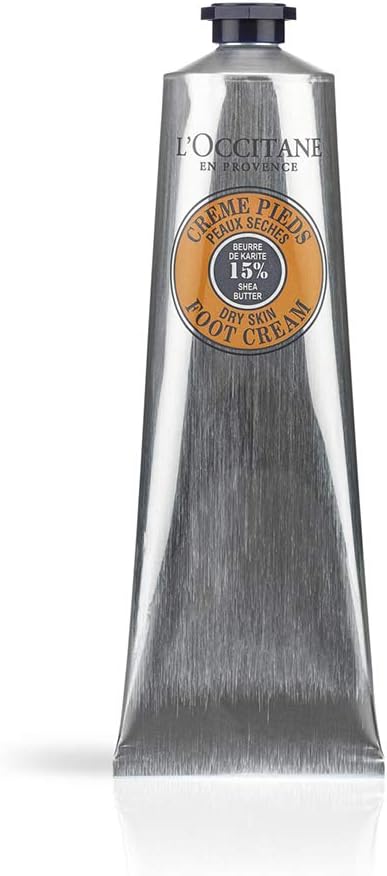
Potential foot lubricants
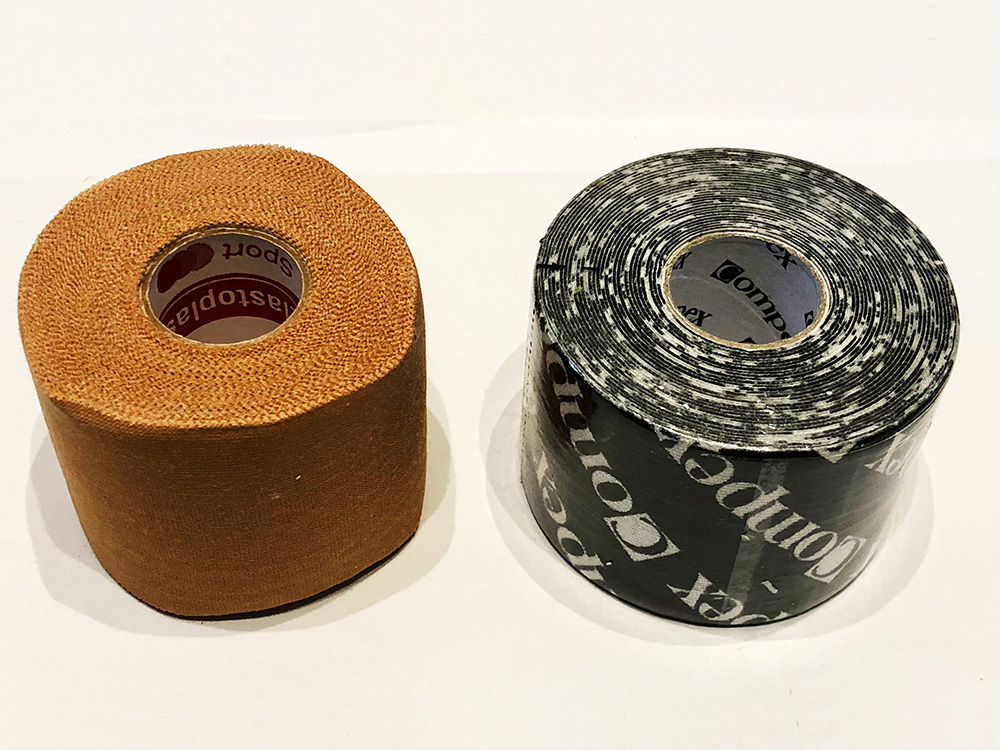
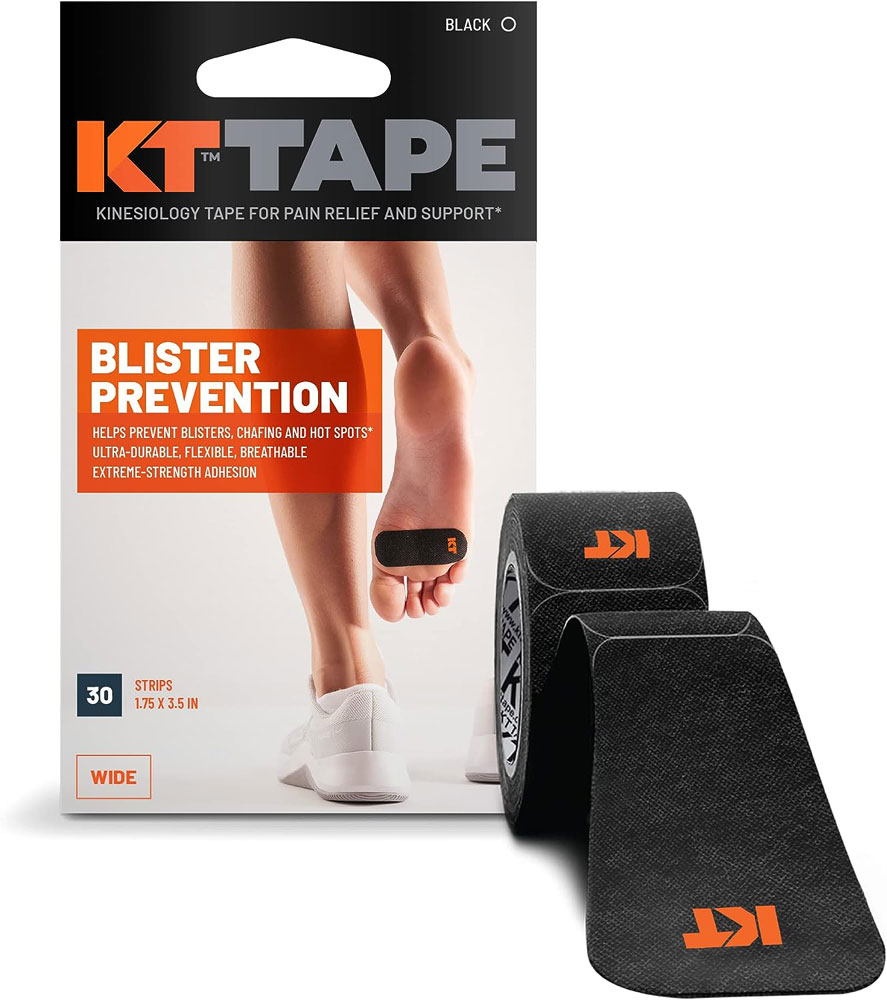
Foot and Kinesiology Tape
|
|
|
|

|
|
|
|
|
|
|
|
Despite the best prevention intentions, sometimes you still just get that blister. If that's the case then you need to treat it.

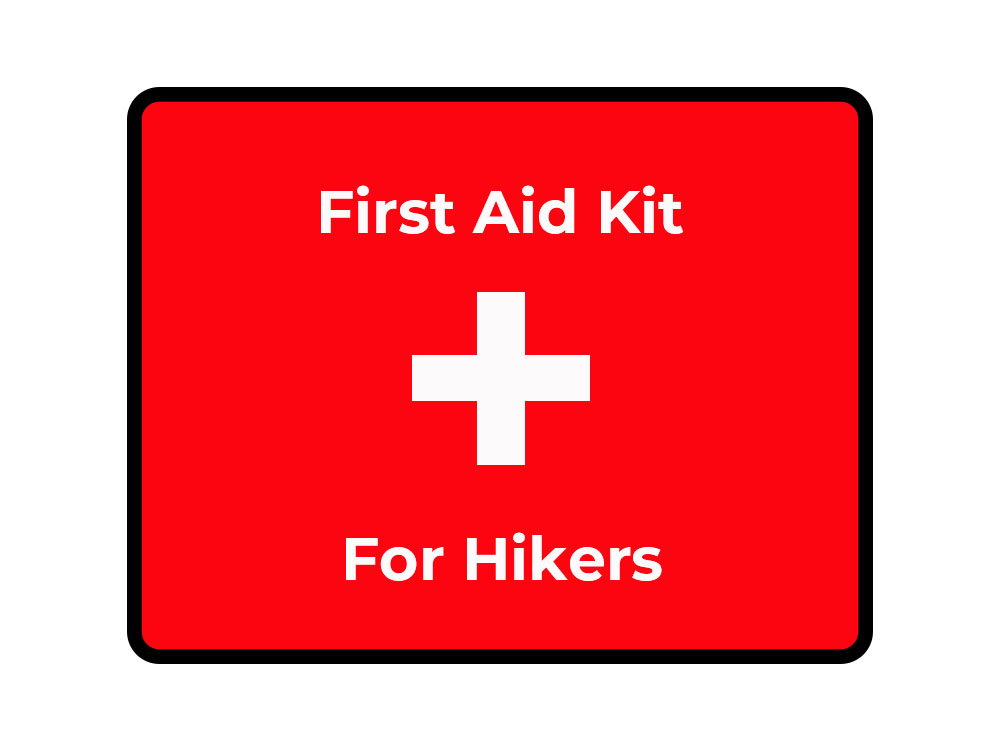
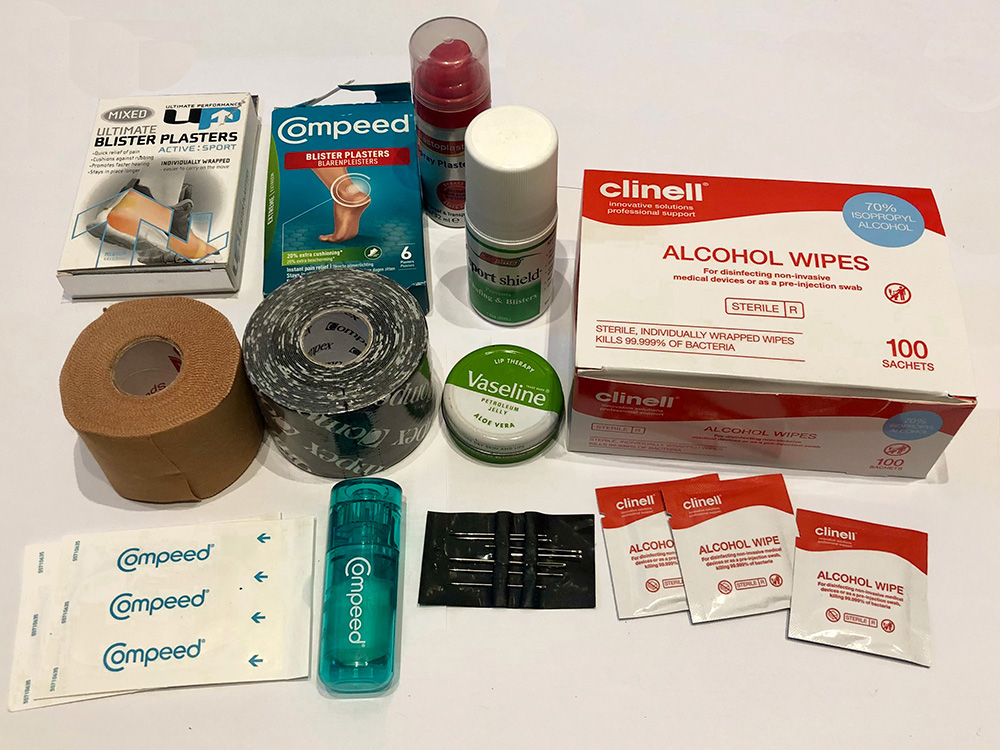
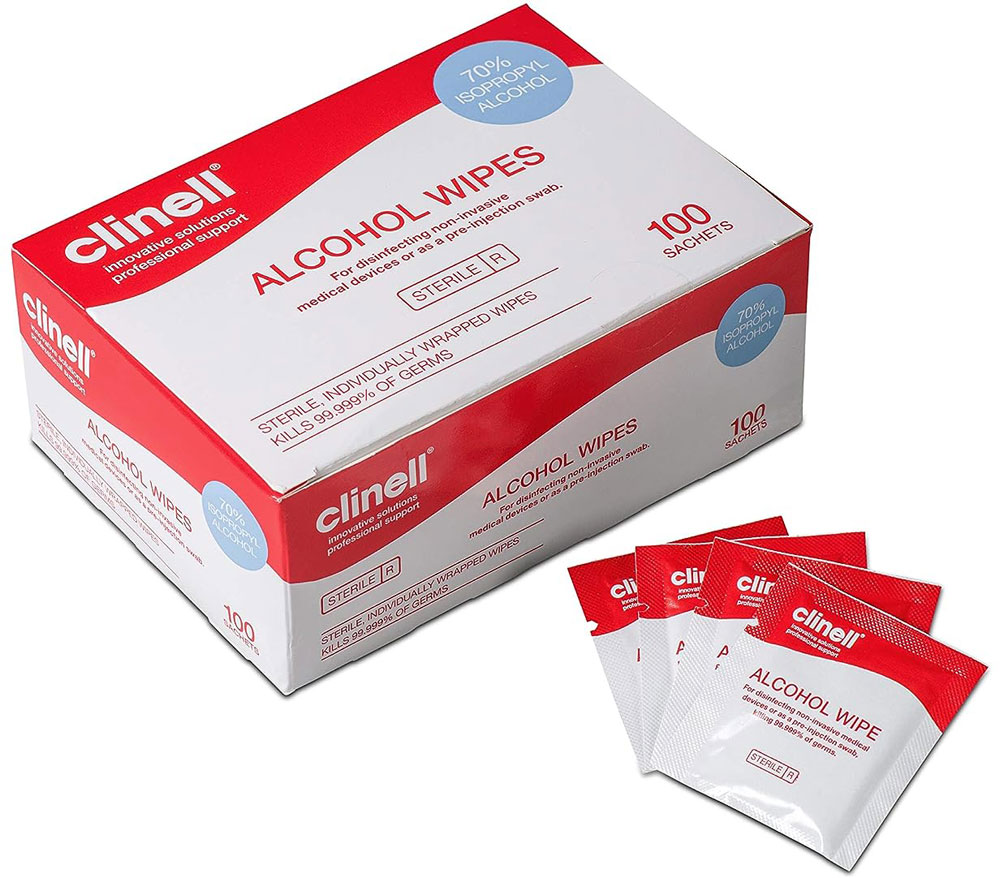
Blister First Aid Essentials
To pop or not to pop, that is the question:
|
|
Then for popped or un-popped, apply a blister plaster over the blister ensuring that the plaster is bigger than the blister.
|
|
|
|
|
|
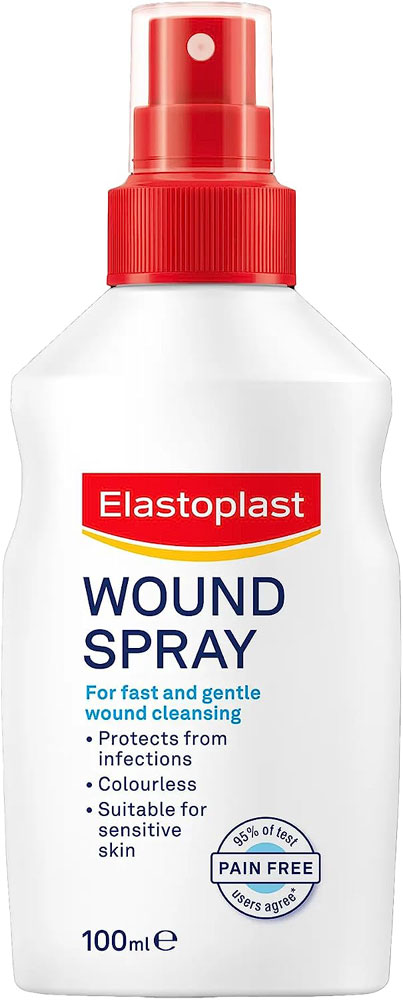
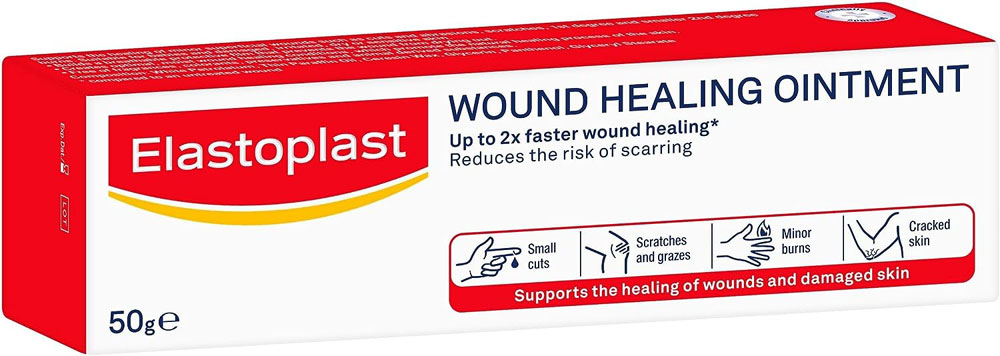
If the skin has torn off the blister so raw skin is showing, before applying the blister plaster, it is advisable to apply something such as Elastoplast's wound spray and wound healing ointment.
|
|
|
|
If you've arrived back home and treatment is required, there is another way for treating blisters, but having tried this mid-walk, I did find it uncomfortable for the rest of the walk - in my mind better left for post-walk, but give it a try - they may work for you.
These mainly involve the use of 'doughnuts'... but not the eating kind. You use blister padding felt, quite a bit bigger than the blister itself and then cut a hole out in the middle where the blister will sit. Some of these are self-adhesive, and some pads you will need to stick down with tape on unaffected skin.
The idea is to raise the blister, so much reduced contact with the ground, thus relieving pressure and friction on it whilst it heals. Studies have found that a 7mm pad reduced pressure by 25% and a thicker pad will reduce pressure further - but the thickness needed of these pads is why I think they are more of an 'at home' treatment rather than one for the hike.
Most blisters heal naturally in about a week, or are well on their way to being healed... generally a little longer if they have burst or have been popped - ideally though refrain from hikes whilst it's healing.
According to the NHS, you should see your doctor if you have blisters that you think are infected, are very painful or keep coming back. An infected blister will be filled with yellow or green pus and may be painful, red and hot. It is very important not to ignore an infected blister.
The Compeed and other items mentioned above, should all form part of your hiking first aid kit.
Here's to happy blister-free walking!
December 2022