By using this website, you agree to our use of cookies (needed to provide our website’s features) and our Terms of Use.
By: Andrew Forrest - October 2023
Ensuring your hiking boots are well broken in, is essential for comfortable walks and hikes. Our 'How to break in hiking boots' guide gives you advice, tips and tricks to ensure your comfort is just a step away!
If you have bought or are going to buy some new hiking boots, do not overlook the importance of knowing how to break in those boots. Out of the box, even great-fitting boots need time to adapt to our feet. Modern synthetic boots require hardly any time at all to adjust, but leather boots can take up to a few weeks.
Breaking in hiking boots is a vital step towards helping to ensure a comfortable, pain-free and blister-free walk. Most of the top tips and tricks below don't just work for hiking boots, they can easily be applied to walking shoes, walking boots or any other boots or shoes, especially leather ones.
This page contains affiliate links. If you buy products or services via these links, we may earn a small commission at no cost to you. If you are thinking of buying, please use our links, as it helps support our website and YouTube channel.
Breaking in new boots, whether they be hiking boots, walking boots, leather boots or just a pair of modern boots, refers to the gradual process of adapting and moulding your new boots to the shape of your feet. This process also helps soften the boots' leather or fabric and ensures they flex correctly as you walk. It's an effective strategy to prevent hot spots and blisters.
Nearly all boots are mass-produced and are built on a last, which is the starting point of all footwear design. The word 'last' comes from the Old English "laest", meaning footprint. The last is the solid form around which a shoe is moulded. The fit of a shoe or boot is completely dependent on the shape and volume of the shoe last.
So, whilst the last may be a good approximation for your foot, it won't be an exact match as most people's feet are slightly different (shape, fallen arches, flat feet etc.). All manufacturers have their own lasts, which are often slightly different. So, breaking in boots helps to mould them more precisely to your feet to achieve a more comfortable long-term fit.
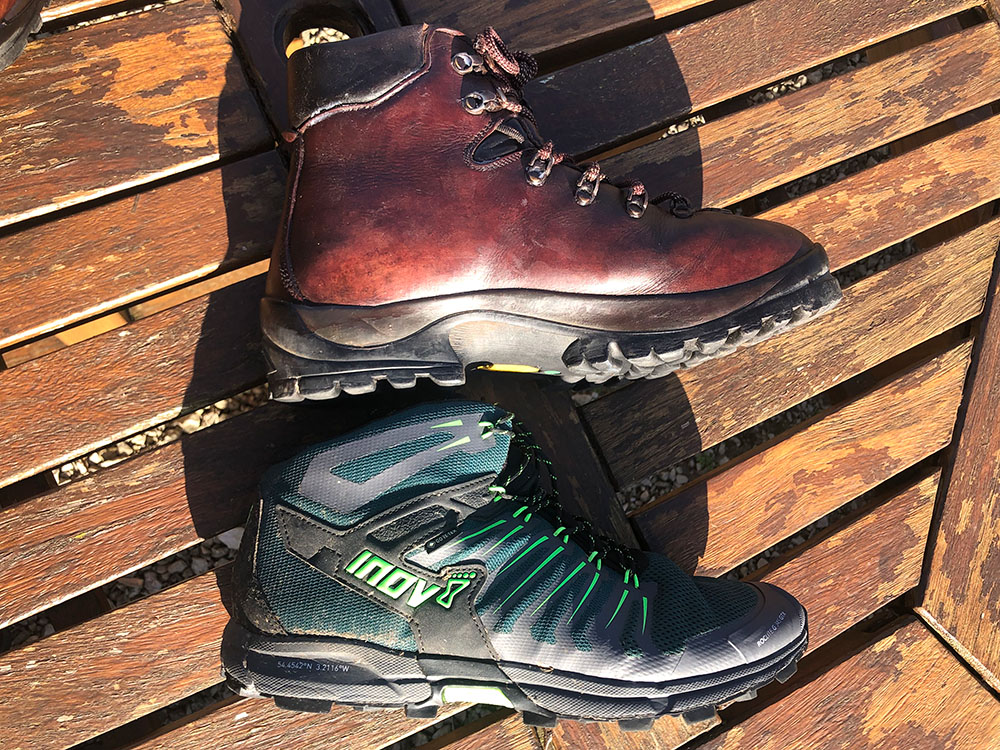
Generally, leather boots take much longer to break in than new modern synthetic boots, many of which now feel comfortable from the outset. I am a great fan of the newer lightweight synthetic materials and do find that after wandering around the house in them for an hour or so for a couple of days, and then maybe on a couple of short walks, they are ready to be used on any of my hikes.
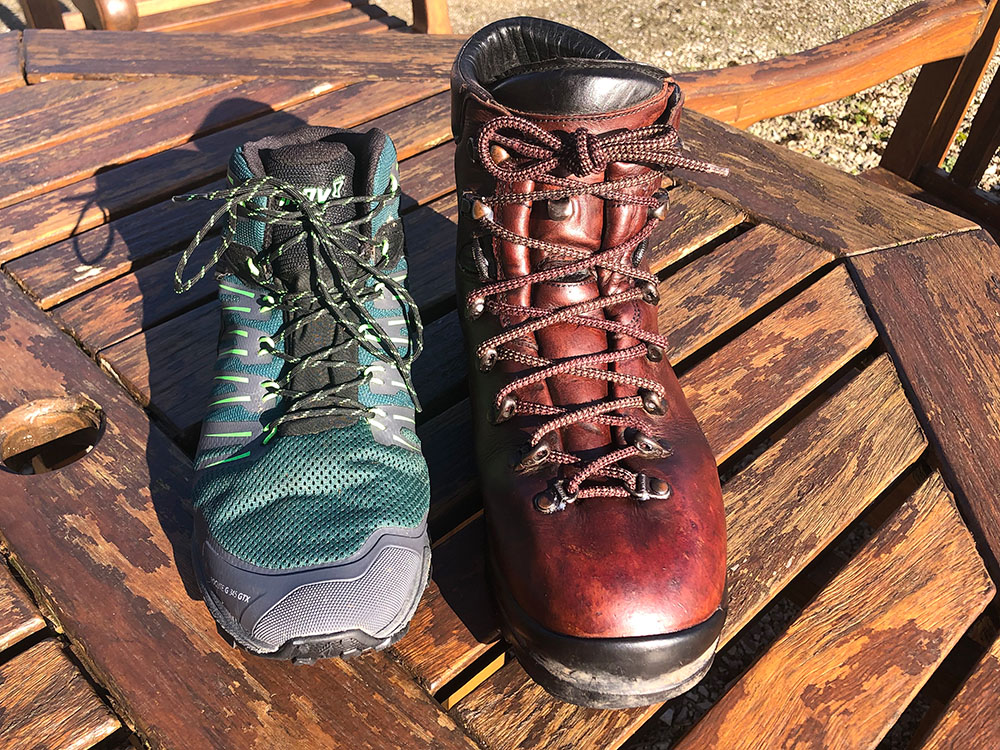
A synthetic and a leather hiking boot
Leather boots on the other hand I tend to find to take much longer to break in even up to 3-4 weeks using the processes set out below. The other factor affecting the 'break in' time is how rigid the boot's sole is. Again, generally the stiffer the sole, the longer the 'break in' time.
Neglecting the break-in period for new hiking boots can lead to a poor fit, discomfort, and, most importantly, painful blisters that could spoil your entire hiking trip - I know that from personal experience!
Therefore once you have your perfect pair of new boots, taking the time and effort to properly break them in is an investment in your hiking comfort, helping to ensure that each step on your walk is enjoyable and pain-free.
Before we look at how to break in hiking boots, let's just step back a little to the purchase of a new pair of boots.
When choosing your boots, you need to consider the nature of the terrain you generally walk on, the length of your walks and the time of year. In the warmer months, I always opt for lighter walking shoes or trail running shoes, which tend to keep my feet cooler and dryer. However, many walkers prefer boots for the added stability provided by ankle support.
For winter hill walks, I have a dedicated pair of winter walking boots. These boots are designed to keep feet warmer, have much stiffer soles, are more robust and are compatible with crampons. For most people in the UK who don't go out in the more severe winter weather, a pair of 3-season boots are a good all-rounder.
Comfortable and stable walking boots can significantly enhance your walking experience. Therefore, if you're investing in new gear, I would always advise that a good pair of walking boots or shoes, along with a waterproof jacket, should be your top priority.
Remember that everyone's feet are unique and different boots come in different fits. It's always best to try on several boots to find the perfect one for your needs and preferences.
If you can, I would always advise trying on your new boots before you buy them. Depending upon where you live and time constraints that may not always be possible though. Once you are happy with a brand and a certain fit, then it is easier to buy online... unless the manufacturer changes their last and fit! I must admit that probably 80% of my boot/trail shoe purchases are online now as you do have the advantage of more choice.
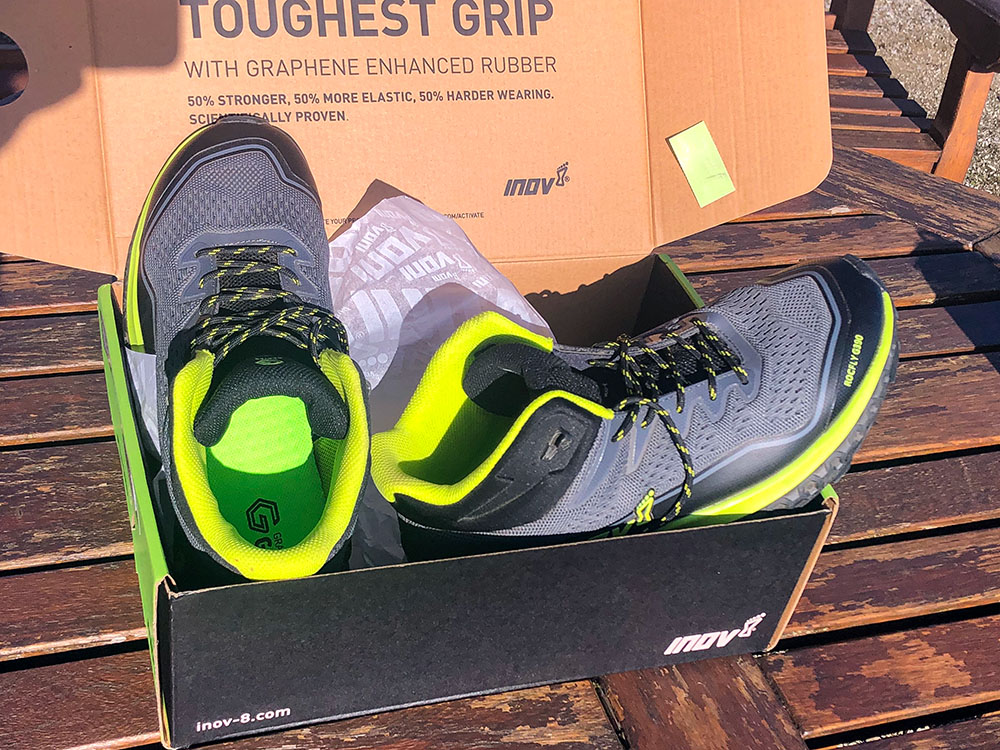
For online sizing, I do like the simplicity of INOV8's size guide where they grade shoes from 1-5, where grade 1 represents their closest most precise fit (similar to an industry B) and 5 represents the widest fitting toe box, similar to a 2E. There are industry standards, such as the B and 2E and many brands do indicate width, so once you know what works for you, you can stick to that.
When trying on new boots, besides your boots the key things to remember are insoles and socks as they can both affect fit.
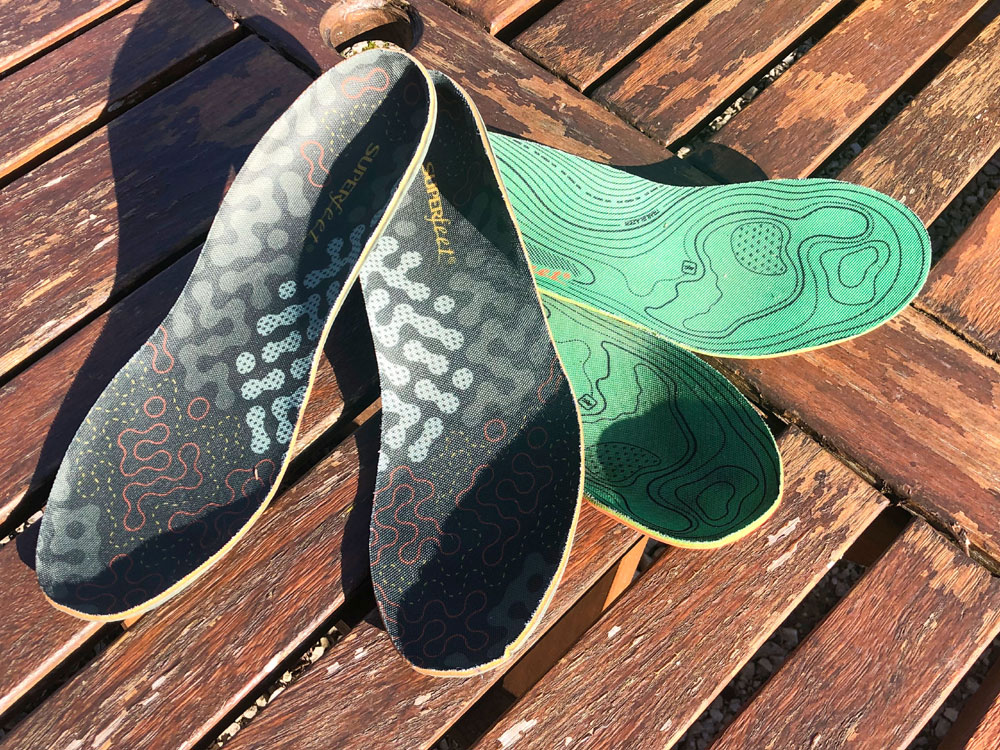
Hiking boot insoles
Many people wear specific insoles, which help correct foot abnormalities. Even if you don't, there are some great insoles for hiking available that you put in your boots to enhance comfort and support. You simply remove the insole that comes with the boot and insert your own. This can affect the volume available within the shoe, which is why it is important to try on new boots with the insole that you will be wearing in them.
The same thing applies to socks. There are many great hiking socks available that help with comfort, breathability, warmth and support that come in various thicknesses and styles. It is important to know which socks you will generally be wearing with the boots and try the boots whilst wearing the same socks, as again the volume available in the shoe is affected. Thick socks for instance, whilst generally providing more warmth, take up more space in the boot, so you need to take that into account or your boots will just feel tight and a poor fit.
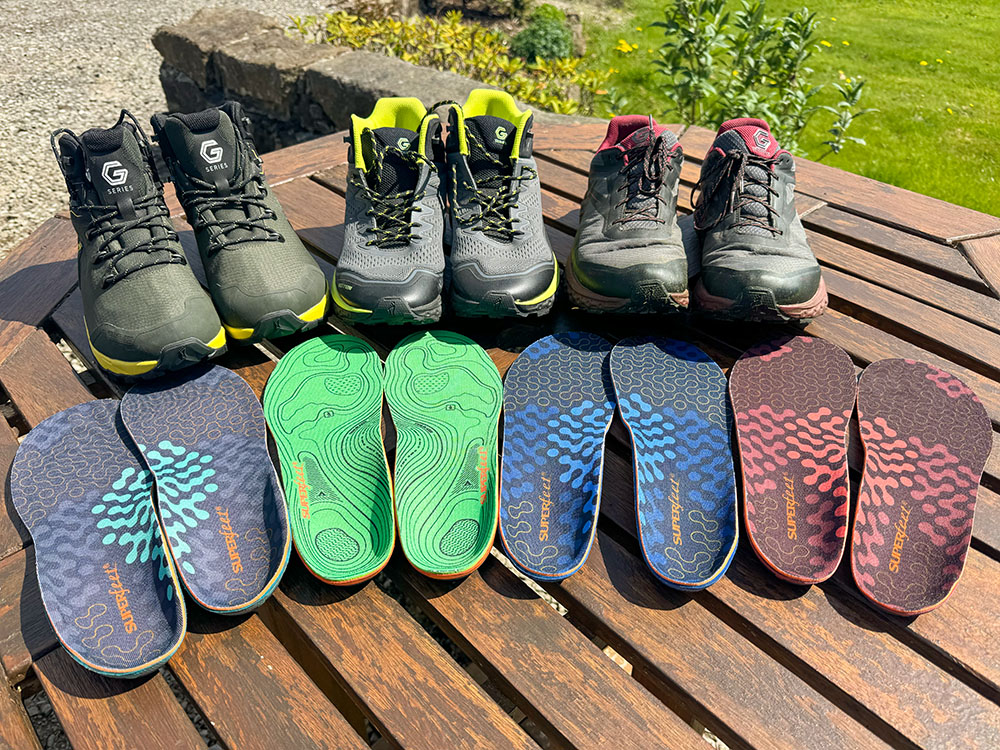
The combination of boot, correct walking socks and insoles is key to getting the fit and comfort right in a boot.
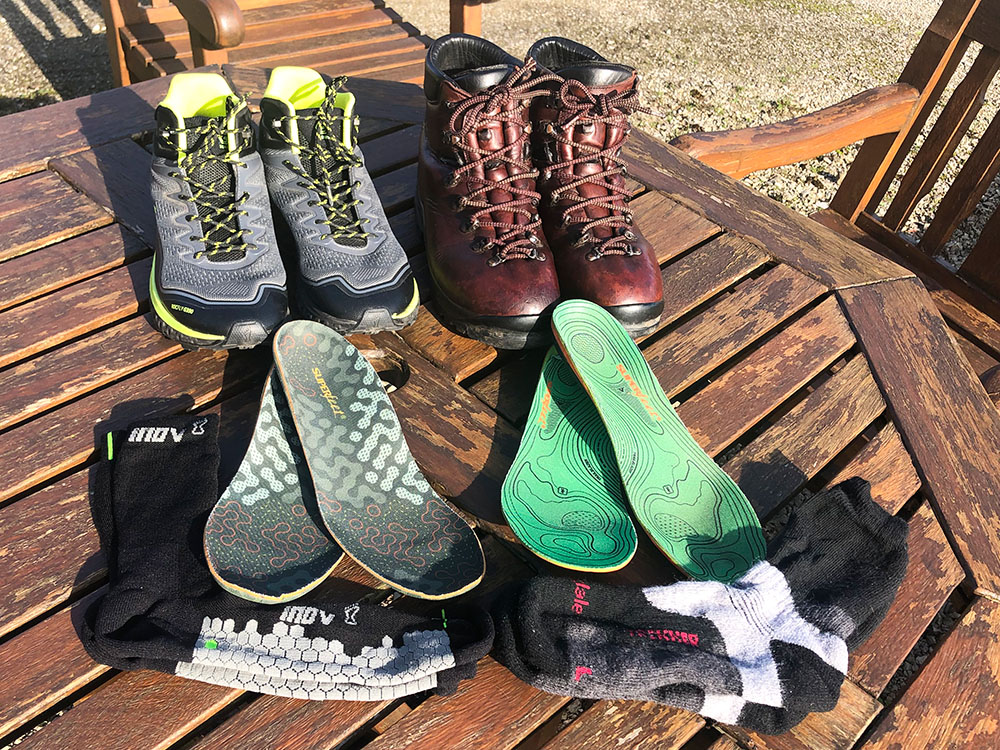
Hiking boots, hiking insoles and hiking socks
Walk around in the shop or at home indoors in the boots to check they feel right before you commit to them - remember don't take the labels off until you are sure they fit and do not try them outside as you probably will not be allowed to return them then.
How you lace your boots can also affect how they feel, so experiment with tying your laces in different ways.
Remember that breaking in will not change a bad fit to a good one - if they pinch or your toes are cramped in the toe box to start with, they are probably not the right boots for you.
With so many different brands of hiking boots available which are designed and built differently with slightly differing widths, shapes and cushioning, you need to find that ideal combination of boot, insole and sock to find that ideal fit and avoid those dreaded blisters.
Most people, including me, go on how comfortable the boot feels when buying them, rather than considering the 'break in' period needed before the boots can be used on longer walks. The vast majority of boots sold now are synthetic boots, which has been an increasing trend since the 1980s. Historically, just about all hiking boots were leather, including the sole. Then in the 1930s, rubber soles started to be introduced, but it was still many years before synthetic boots became commonplace.
Leather boots require a much longer break in period than synthetic boots. My original pair of Scarpa SLs took over a month to 'break in' before they felt comfortable on hikes.
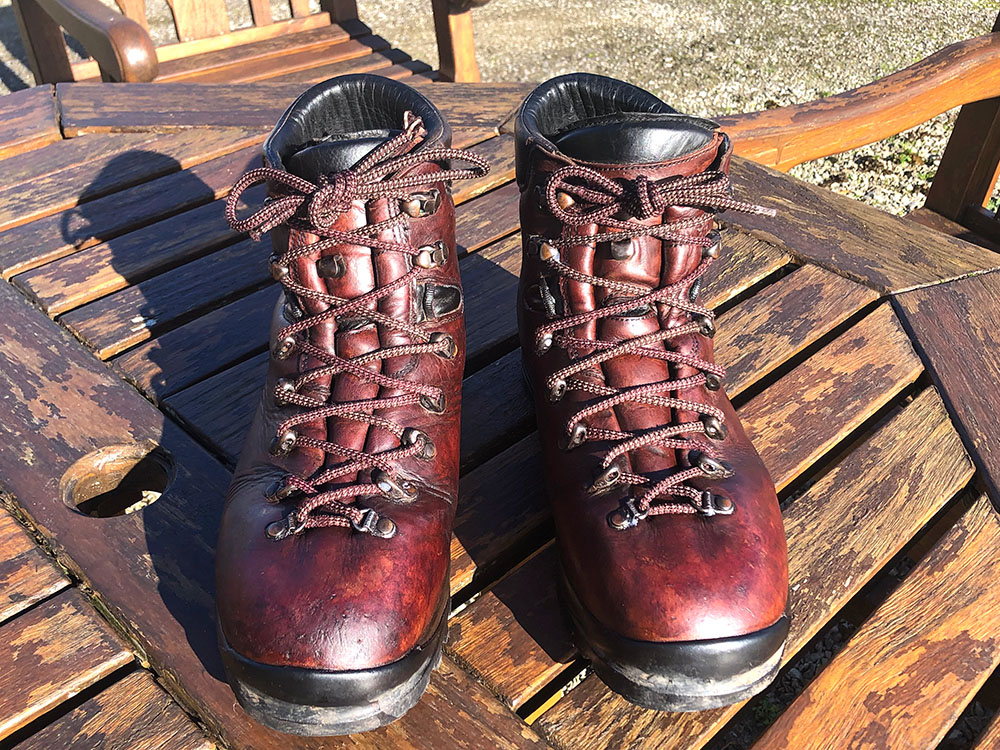
Scarpa SL leather hiking boots
Synthetic boots, especially a new pair of modern boots are 'almost' wearable straight out of the box. I do find though, that they are better if you do wear them indoors over a couple of days and then start them on their hiking adventures by going on short walks first, which would highlight whether any hotspots may result in blisters.
With synthetic boots, the materials don't need to be supple like with leather, so I find most of what is needed is just getting the sock/insole combination correct and adjusting the laces.
Synthetic boots are generally lighter and more breathable than their leather counterparts, which is why their popularity has grown so much. I have only one pair of leather boots now that I use in the worst of the winter weather. The rest of my walking is done in synthetic hiking boots/shoes and trail shoes.
The main thing in succeeding in how to break in new hiking boots is, before you head out on your first walk with your new boots, to start by breaking them in at home.
For both leather and synthetic boots, simply pop on your hiking socks and the insoles you'll be wearing in your new pair of boots and wander around the house, or, as I do, wear them while slowly walking on my walking pad, while working at my standing desk. For leather hiking boots, I would wear them for about 30 minutes on the first day and then gradually increase by about 30 minutes each day up to a few hours and then try as much as possible over the next few weeks to wear them indoors for a few hours a day.
For synthetic boots, I find that after a couple of days of an hour a day inside, I can move on to breaking them in outside. Some people find them comfortable straight out of the box.
Even just sitting in them at home, maybe whilst you are watching TV, helps. The heat and moisture from your foot help with the moulding of the boot to your foot and will help the material become more supple and flexible.
For optimal comfort during your hikes, the flex point of the boot's sole must align with the natural bending of your foot. This allows for ease of movement and adaptation to varying terrains. If the soles are too stiff and lack adequate flexibility, it can lead to discomfort and restrict the natural positioning of your feet, resulting in a less enjoyable hiking experience.
Softening the material and enhancing comfort is achieved by flexing the soles of your new walking boots, which is an essential step in breaking them in. To do this, bend the boots at the crease a few times daily to make the soles more pliable.
Comparison of soles on 3-4 season Scarpa SL hiking boot and a synthetic boot
If the boots feel particularly rigid, once you know where the flex point is, you can also gently flex the sole with your hands, gradually increasing the intensity as the boots break in. Whilst flexing the boot, just slowly flex the sole upwards, don’t twist it from side to side.
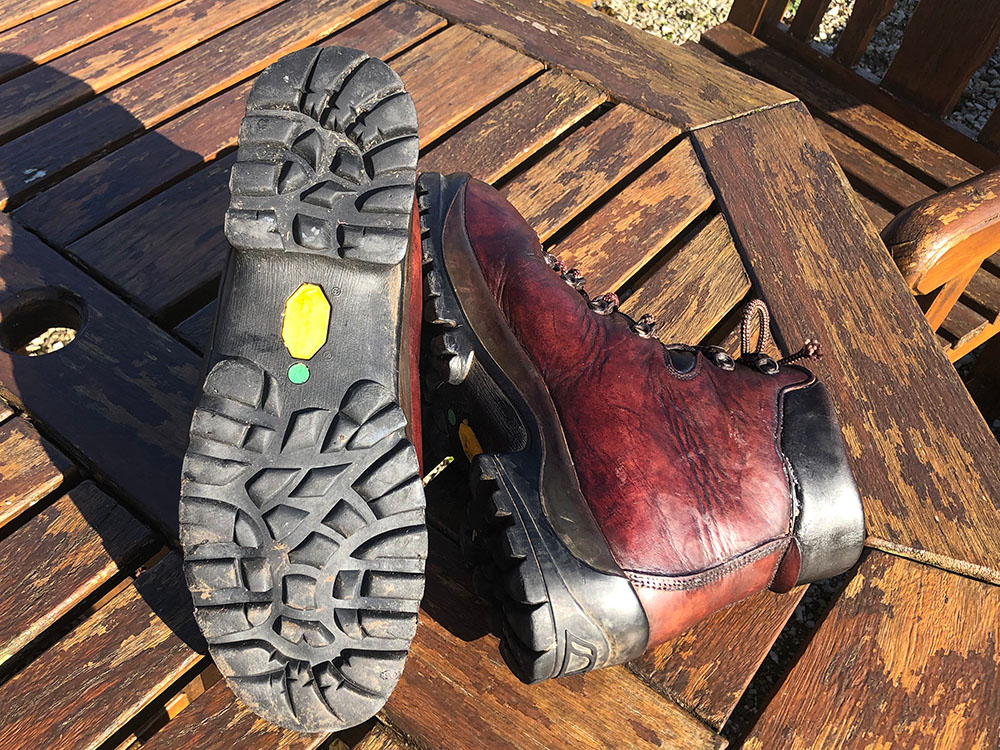
Stiff soles on a Scarpa SL 3-4 season hiking boot
Bending and flexing the leather is a way to expedite the break in process. Use your fingers to work the wax into flex points on the toes and on the ankle, then grasp the boots and flex them with both hands. This technique helps loosen and soften the leather, making it more comfortable to wear.
You can also do this after your first few walks outside, just keep paying particular attention to flex points, the ankle cuff and the tongue of the boot.
Whilst we have been looking at how to break in hiking boots, there are a few things that you should not do. Do not use methods like:
All these methods can damage the material of the boot and shorten its lifespan.
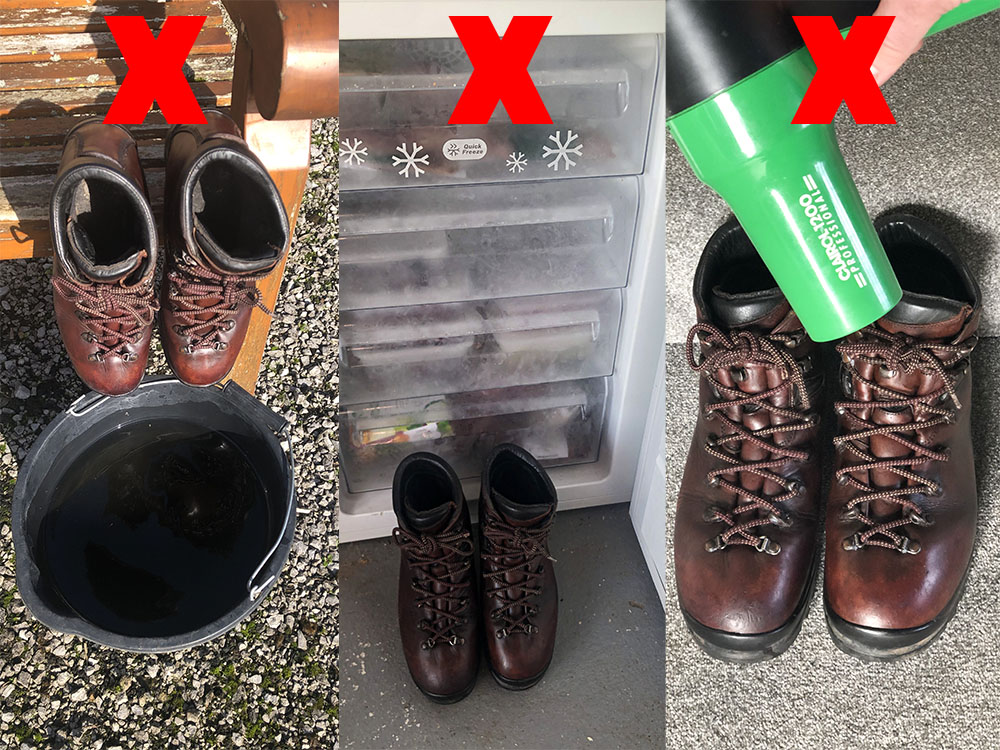
How not to break in hiking boots - don't soak them, don't freeze them and don't heat them
After the initial period of breaking in your hiking boots indoors, the next step on how to break in hiking boots is to continue that proces outside.
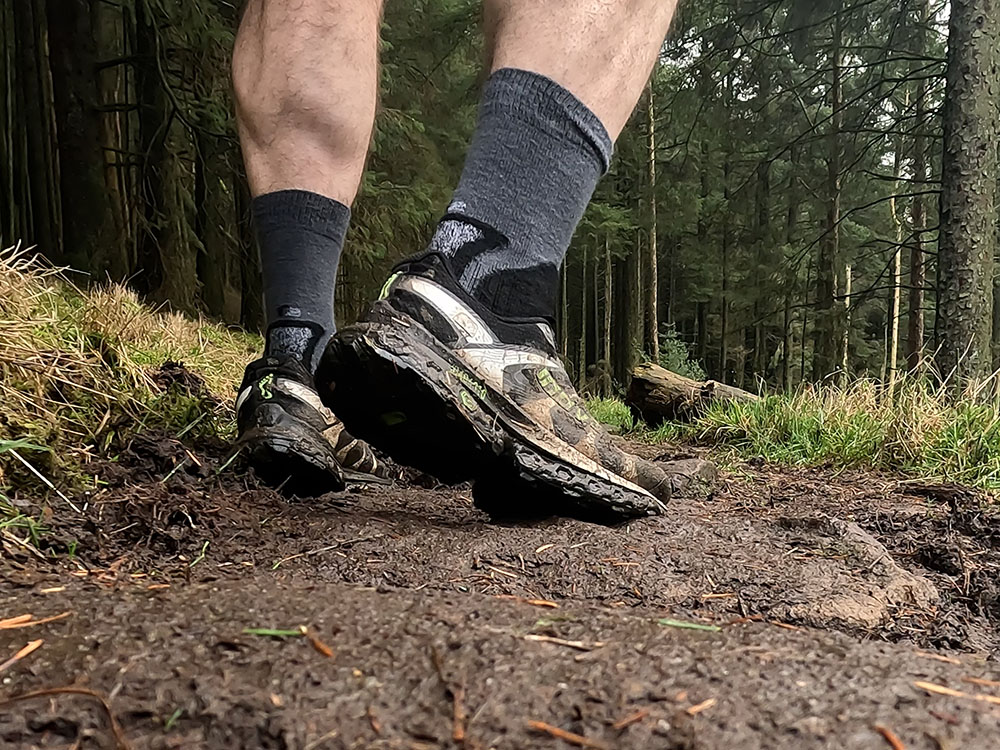
As you were doing inside, wear your boots outside, initially on a couple of short walks and then slowly increase the mileage on each walk to get your feet used to our boots and allow the boots to mould better to your feet. For synthetic boots, you need only do this generally a couple of times and then they are ready to go on a longer hike. For leather hiking boots, increase your mileage over a few weeks.
Besides mileage, try walking on different types of terrains. Uneven terrain will make your foot and boot work more, as will walking uphill and downhill and the pressure will move from the back to the front of your foot.
In addition to the length and type of walk, try increasing the weight you carry in your backpack on each walk as you break in the boots. Walking with a heavier or loaded pack can help your boots adjust to the added strain and ensure they provide adequate support during your hikes.
One thing that I have always found useful in the past when trying these first few longer walks, is to take another pair of older walking boots or trail shoes with you in your backpack. If your feet do start getting too sore, then walk back in your older worn in boots or trail shoes.
By trying different walks and gradually increasing the distance and what you carry on your walks on various terrains, you can more effectively break in your new walking boots and ensure they provide the support and comfort needed for your hiking adventures.
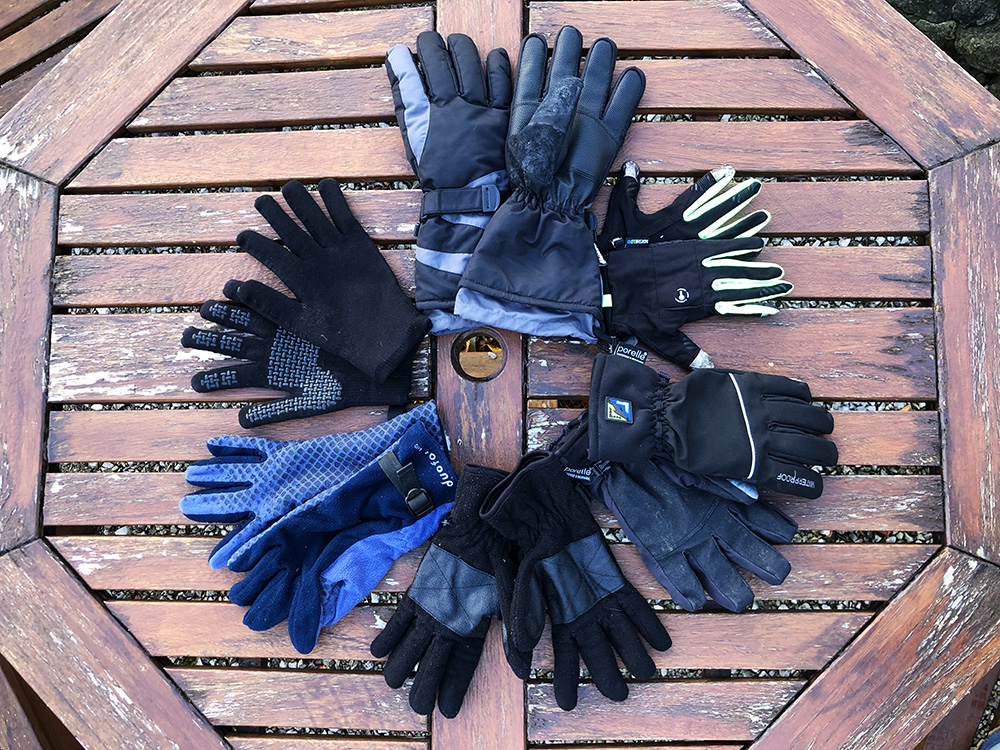
If you still feel any discomfort, try different socks and insoles with the new walking boots as the right combination of socks and insoles can greatly improve the comfort and support of your hiking boots. Experiment with types and thicknesses of socks, as the best hiking socks should feel comfortable on your feet, wick moisture away from your skin, provide cushioning to high-impact areas and help to maintain a comfortable foot temperature to avoid excess sweating.
Additionally, consider trying insoles to provide extra cushioning and support the ideal fit. They can also adjust the volume in your boot. Even the best hiking boot insoles do need breaking in as well as the boots, as they will position your feet differently. This process will allow you to get used to the insoles and help mould the insoles to the shape of your feet, ensuring a comfortable and secure fit during your hikes. Your muscles and ligaments need this break in time to acclimatise to their new position.
By trying different combinations of correct walking socks and insoles, you can determine the most comfortable and supportive combination for your feet during your hikes, which can make a significant difference in your overall hiking experience, reducing the risk of discomfort and blisters.
The other factor that affects how your boots feel on your feet is whether are they laced correctly. There are many different ways to lace and tie hiking boot laces and correctly lacing your hiking boots is essential in reducing friction and preventing blisters.
You may never have given much thought to how you tie hiking boots, as many people just lace them the same as their day-to-day shoes or trainers, using the technique they learnt as a toddler. But, with so many factors to consider, such as foot shape, terrain, and personal preferences, it's important to understand the different lacing techniques and their benefits. There are many different techniques to lace for narrow feet, wide feet, heel securing, lace locking and many more.
Adjusting your lacing on your walking boots to alleviate pressure points and hot spots can lead to a more comfortable hiking experience and experimenting with different lacing techniques and adjustments can help you find the perfect balance between support and comfort.
Whilst you break in hiking boots, you need to identify and address any hotspots that arise that could lead to discomfort and blisters.
Inspect your feet and pay attention to common areas of discomfort like your heel, toes and Achilles tendon at the top of the tongue and ankle cuff.
If you do experience any hot spots or blisters, you need to know how to treat and prevent blisters whilst you are hiking. Many techniques will help you treat them, but you also need to work out how they arose and adjust your socks, insoles and how you tie your boots accordingly.
If they are leather hiking boots, have you progressed to being outside in them too soon? Maybe go back and continue with the indoor techniques for longer.
If you have hotspots whilst breaking in your new pair of boots, then taping them or applying blister plasters can get you through that break-in period until your boots have fully moulded to your feet.
For more on hotspots and blisters, check out our tips for preventing and treating blisters - a guide for walkers, hikers and backpackers. If you still have any issues with your feet, how you tie your laces can also help alleviate many foot issues.
If all the above fails then consider seeking professional advice.
When you initially buy the boots, if you buy from a walking shop rather than online, they generally have a footwear specialist who can evaluate your feet and recommend the right boots before you buy them. If there are issues after you've bought them, they should also be able to recommend the appropriate adjustments or modifications to ensure a proper fit.
You could also try a medical professional who may be able to help with having some specialist insoles or custom insoles made. I initially had custom insoles as I've had many issues with my feet(!) but nowadays I do find that the best hiking boot insoles off-the-shelf provide all the support I need.
The custom ones will be a custom fit made specially for you but could cost up to 10 times more than off-the-shelf versions. Ultimately, the choice between custom and over-the-counter insoles will depend on your individual needs, budget and preferences.
Once you have got past that break in stage and are out and about walking regularly, taking proper care of your boots can greatly extend their lifespan ensuring peak performance.
Knowing how to clean, dry and care for your hiking boots, whatever the material, extends their longevity and can help prevent blisters. Cleaning and waterproofing your boots will help keep your feet dry, thus potentially eliminating one of the causes of blisters.
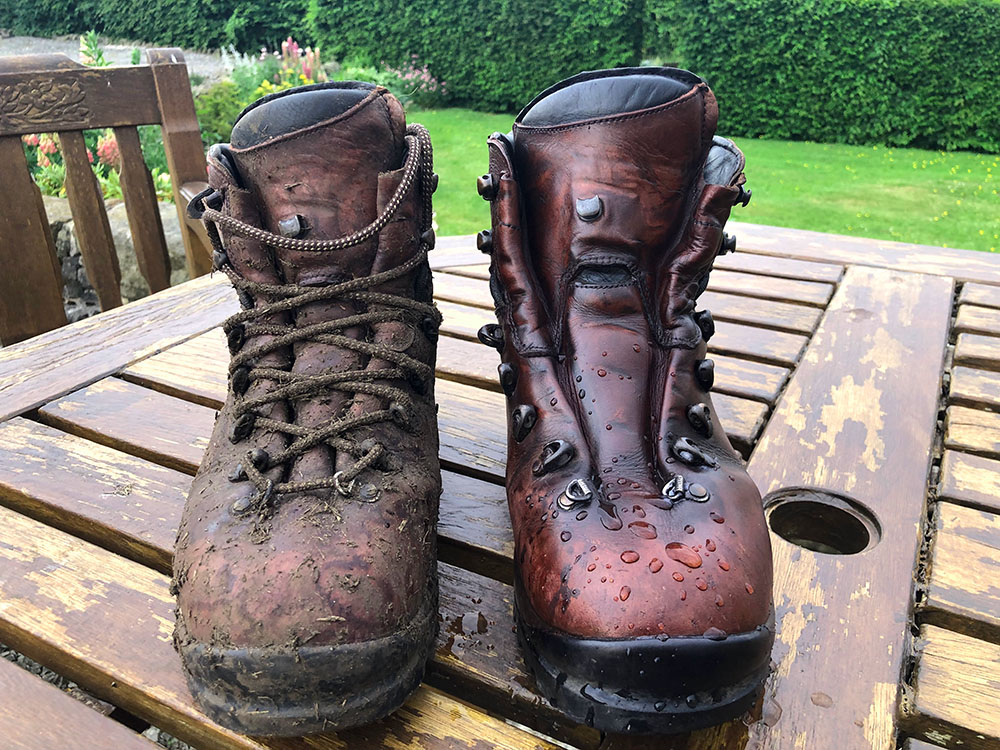
Before and after cleaning and proofing leather hiking boots
Different materials require different cleaning and proofing techniques. For example, applying leather conditioner to to leather hiking boots helps preserve the suppleness and strength of the leather and helps prevent cracking.
So for a full guide on how to clean different types of boots, both inside and out, how to proof the different types of boot materials, how to correctly dry your boots how to deodorise and store your boots and what not to do, check out our ultimate guide to cleaning, drying and caring for your hiking boots.
Knowing how to break in hiking boots is a crucial step to ensure a comfortable and blister-free hiking experience.
By choosing the right hiking boots, following a gradual break in process, caring for your boots properly and pairing them with the right socks and insoles, you can enjoy your hiking adventures knowing your feet are well-supported and comfortable. Remember, a well-fitted and cared-for pair of hiking boots is the foundation of many a walk.
October 2023